How to Change Your Oil
The first thing you should do when changing your oil is to find out what kind of oil you engine calls for. Usually if you open your hood and look at the oil filler plug on your Valve cover on in that area. It will usually say on that plug what kind of oil you should use. If it does not give you that information you can look at you car manual. And if that fails you can look up the make model, and Year of your car on the web and look under Engine oil type and then type in your car info. Make sure you get the correct oil filter too. You can go to Wal- Mart and look up your make model and year in the Oil filter book that have in the auto section. Usually all the information you need will be in that book. I would stay with a Fram filter…do not use one of those cheap no name filters they are made poorly. Also look up the amount of oil required too.
The next step will require you to get your car in the air so you can crawl under it. I would suggest you get yourself a set of ramps.
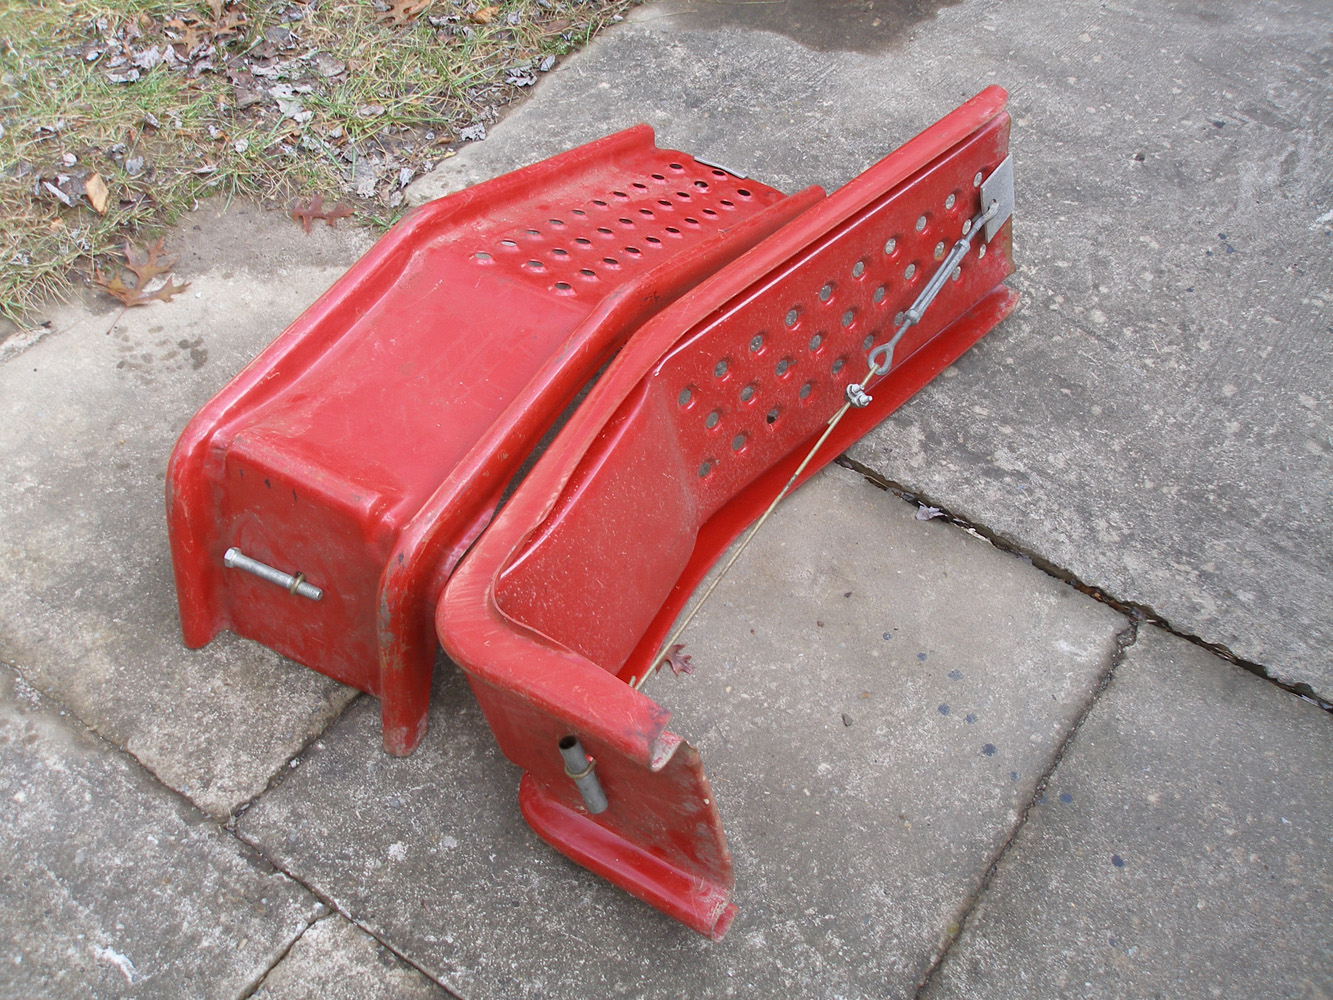
Notice these ramps. They are for a regular car. What I have is a 9000 lb truck now you see why I had to reinforce them with a steel cable so they do not flatten out when my truck gets on them.
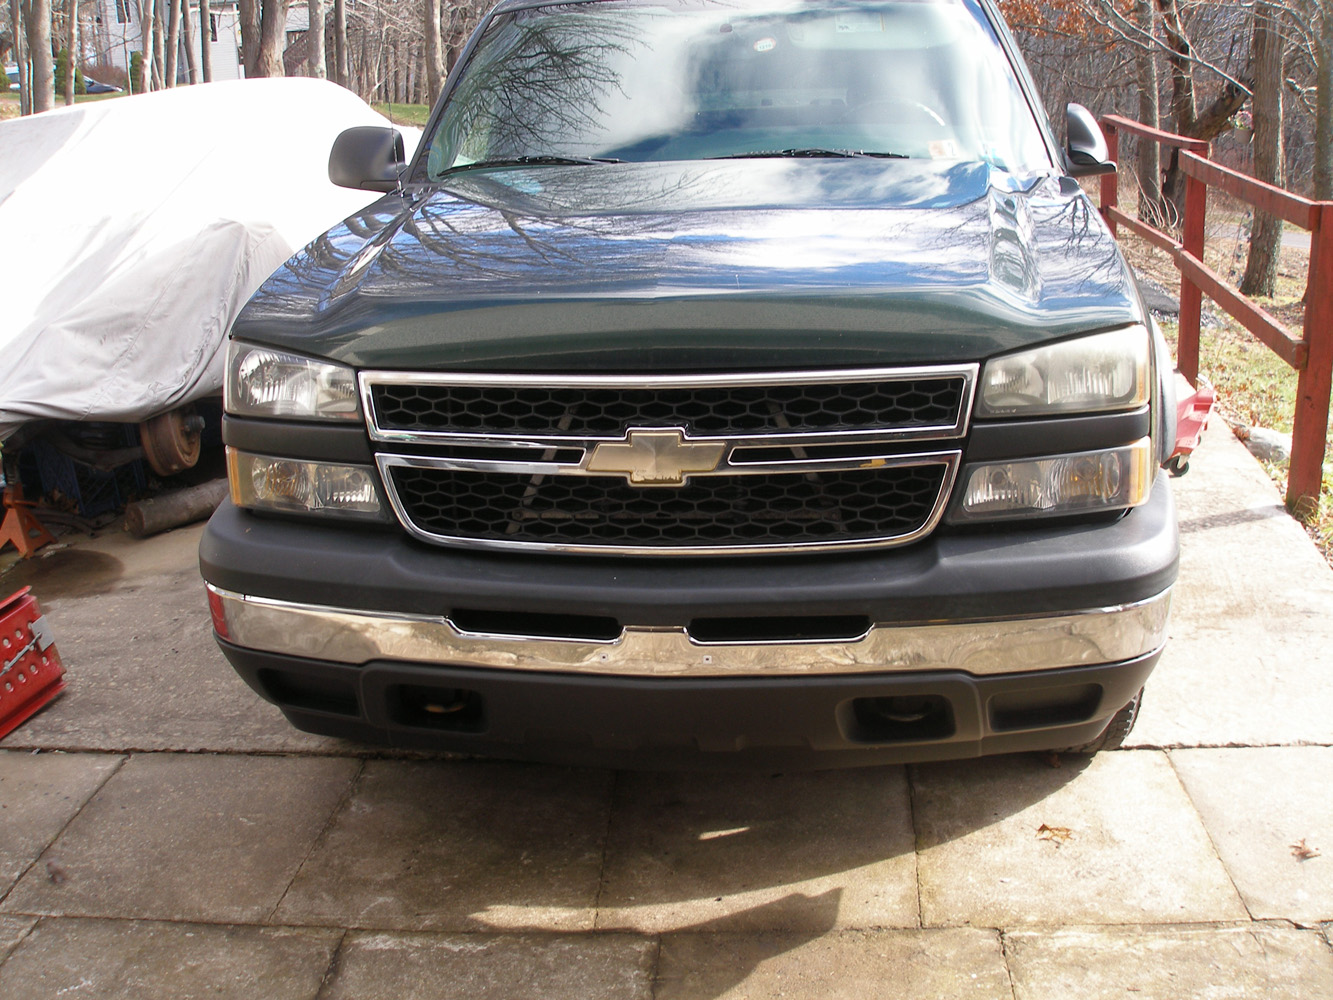
This is the truck I will be changing the oil on. The method I use on this truce will also apply to most cars. Some cars do have a belly pan on them so you can’t even see the oil filter. They will have to be removed with a screw driver.
Next you will need an oil pan to catch your old oil. This one works pretty good . once the oil goes in it will not spill out unless you pick it up and pour it out of the snout
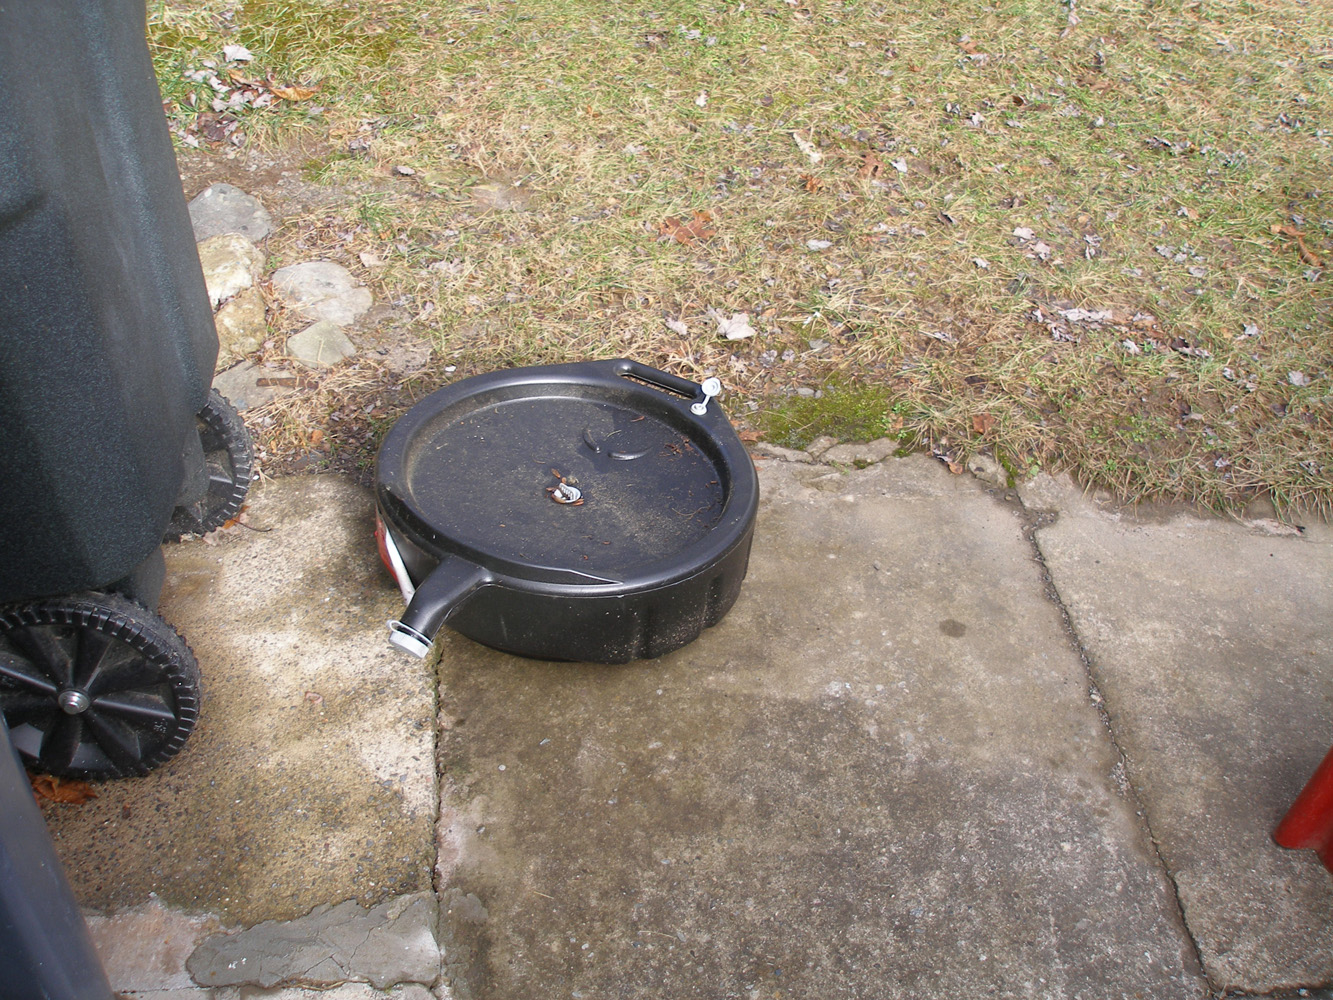
Sometimes the oil pours out of the motor so fast that it might over flow the edges of this unit. You have to make sure that the Pull up drain plug is pulled all the way up or the oil will not drain down into the pan.
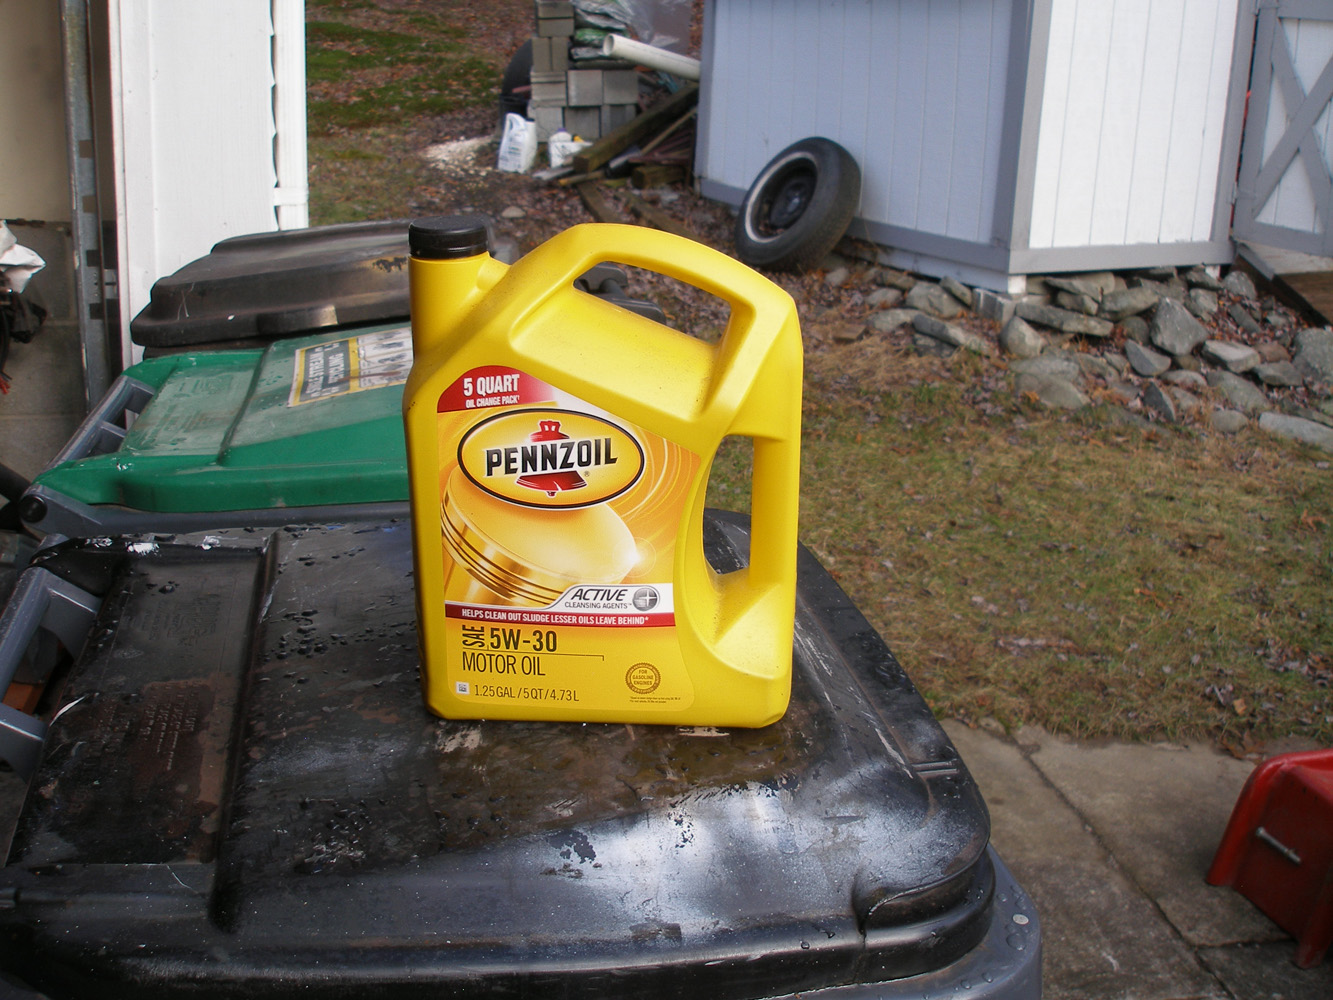
Here is the correct oil for my truck. I like Pennsoil oil.
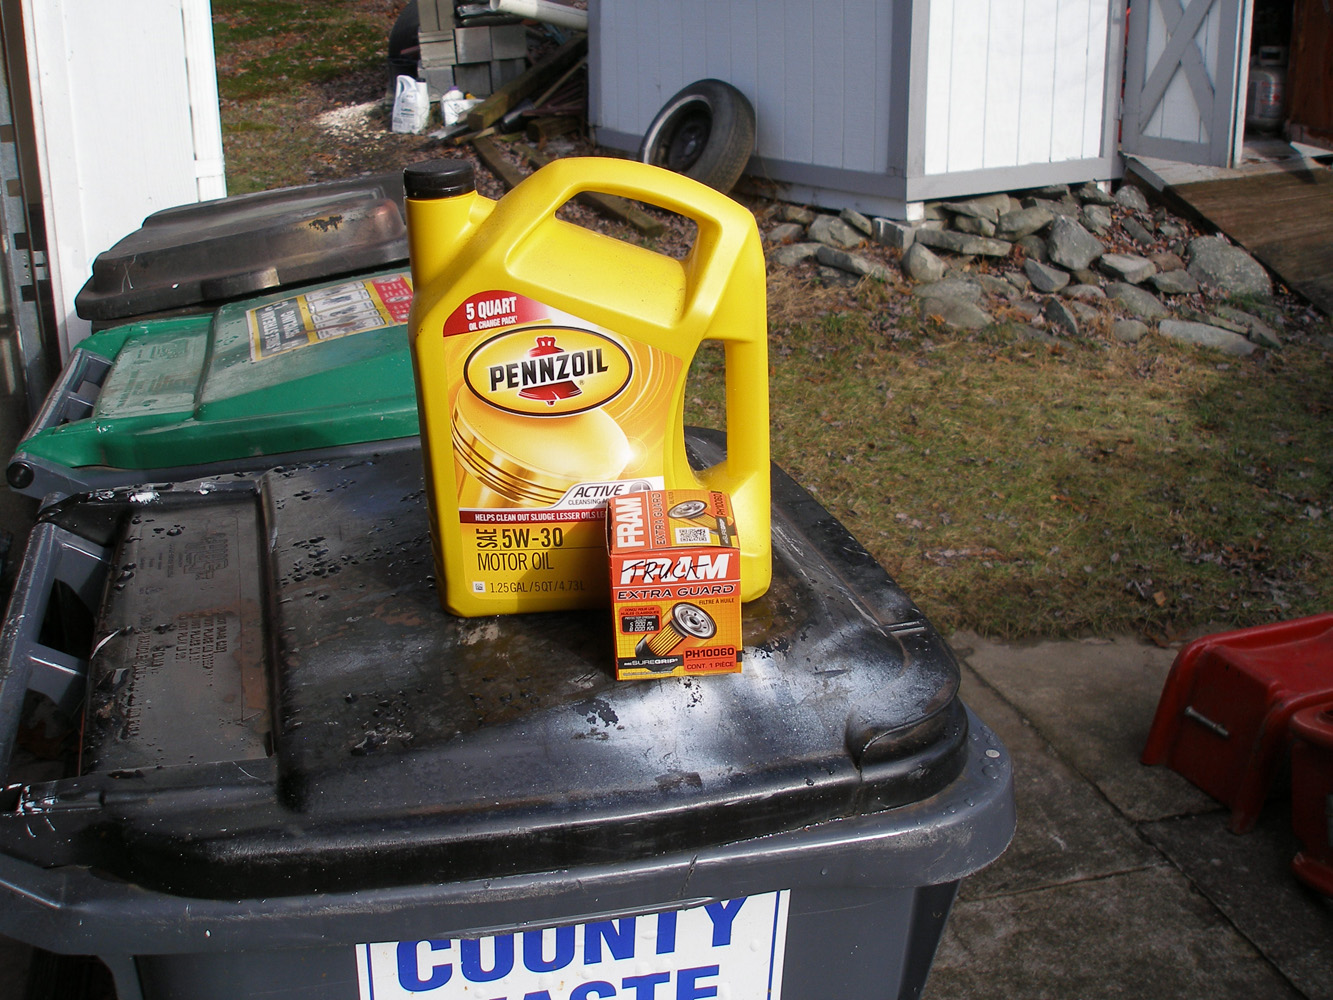
Here is the oil filter that I am going to use.
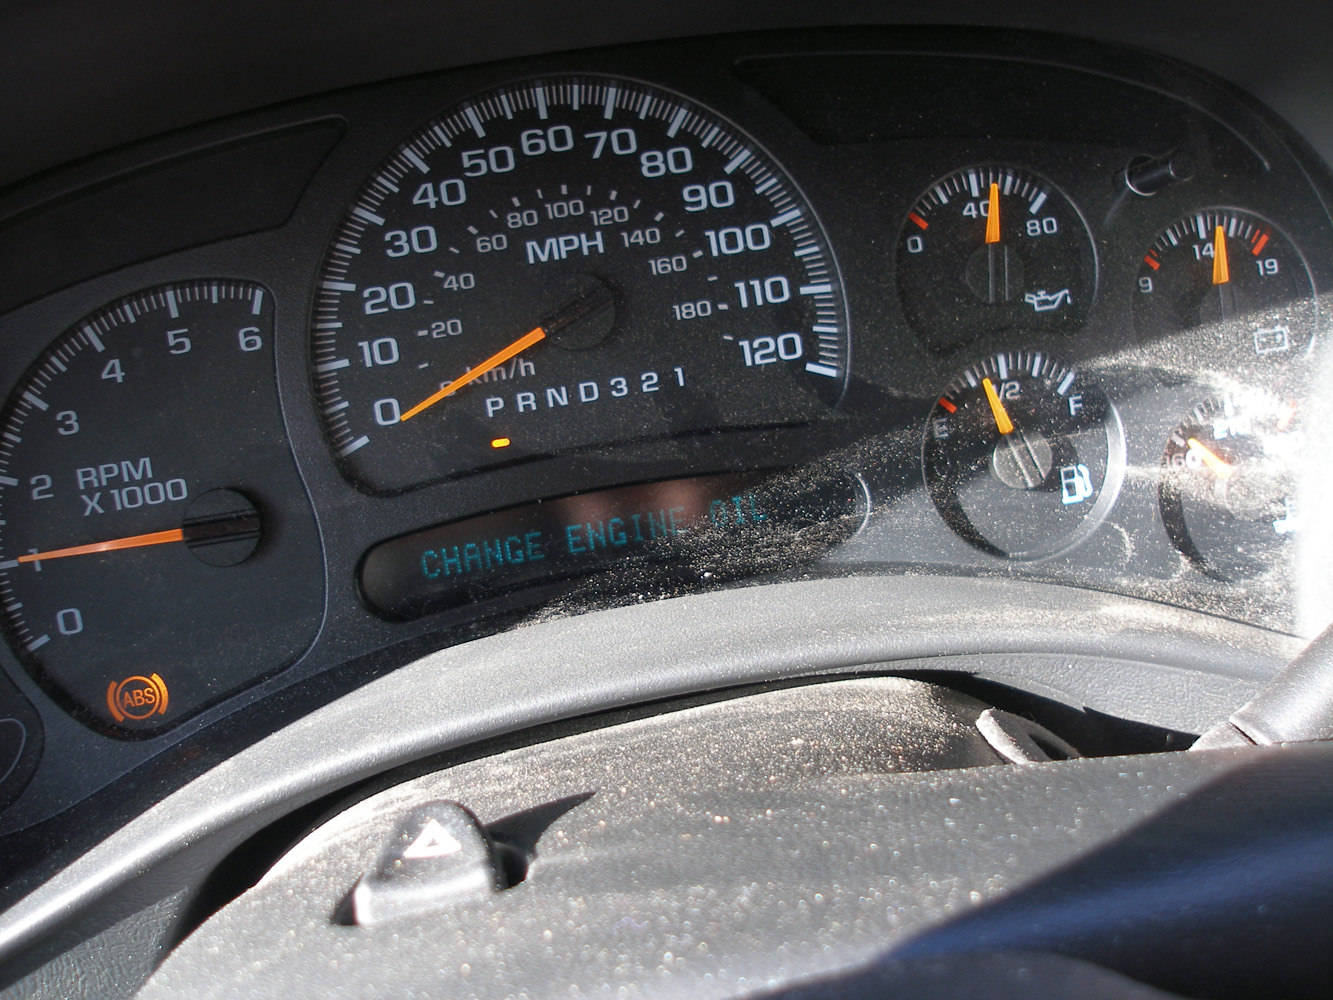
Most times you will get a notice from your car or truck that you must change your oil. It not stay with change it every 5000 miles.
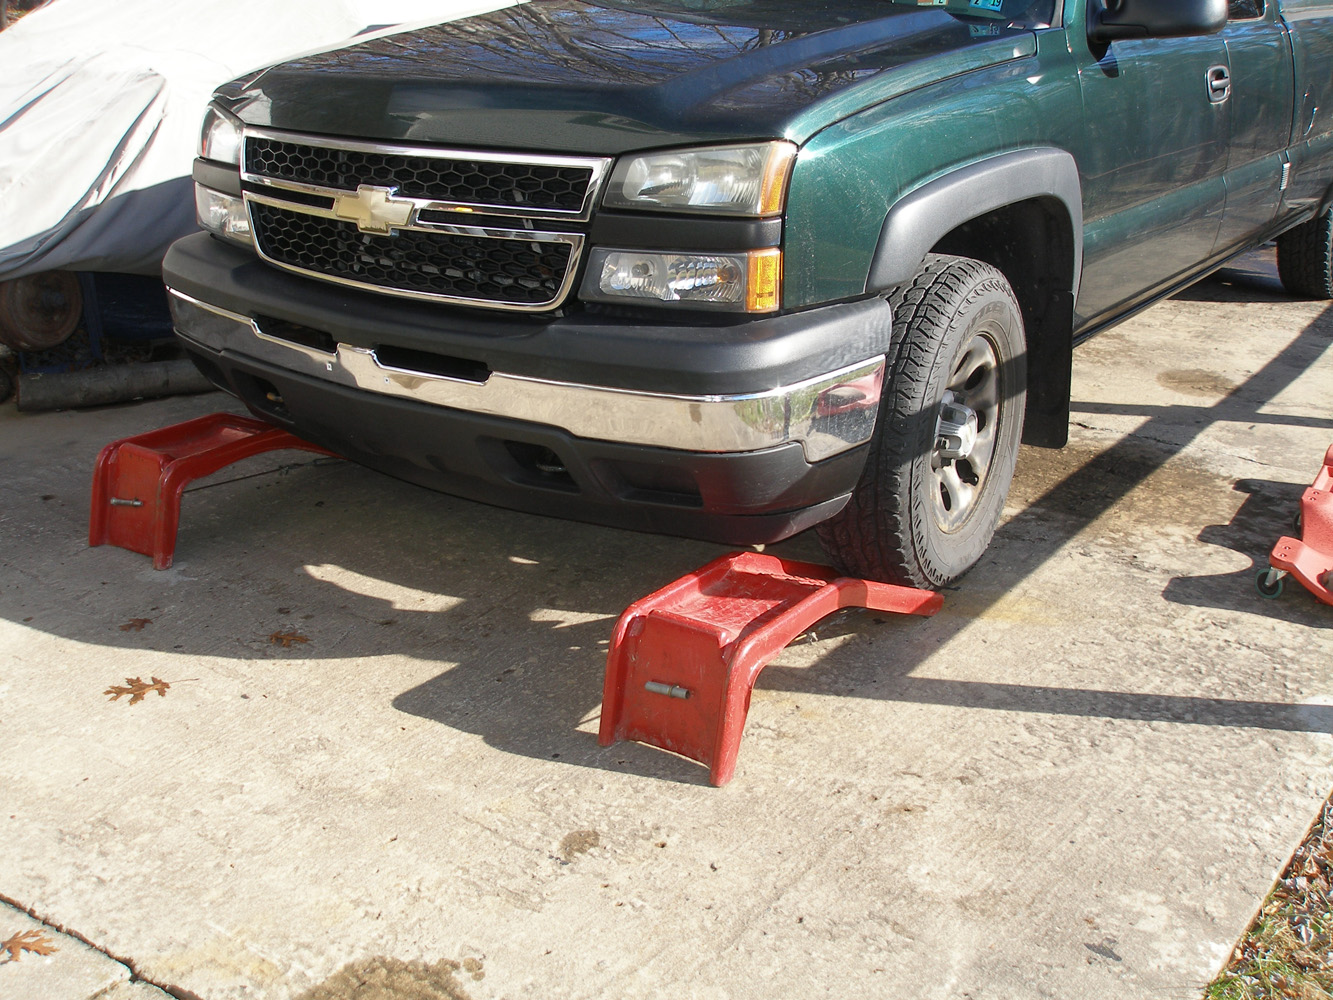
Here is my truck jacked up and ready to crawl under. Don’t forget to put your car /truck in Park and still put a big rock or piece of wood behind one of the back tires so it does not roll down the ramp.
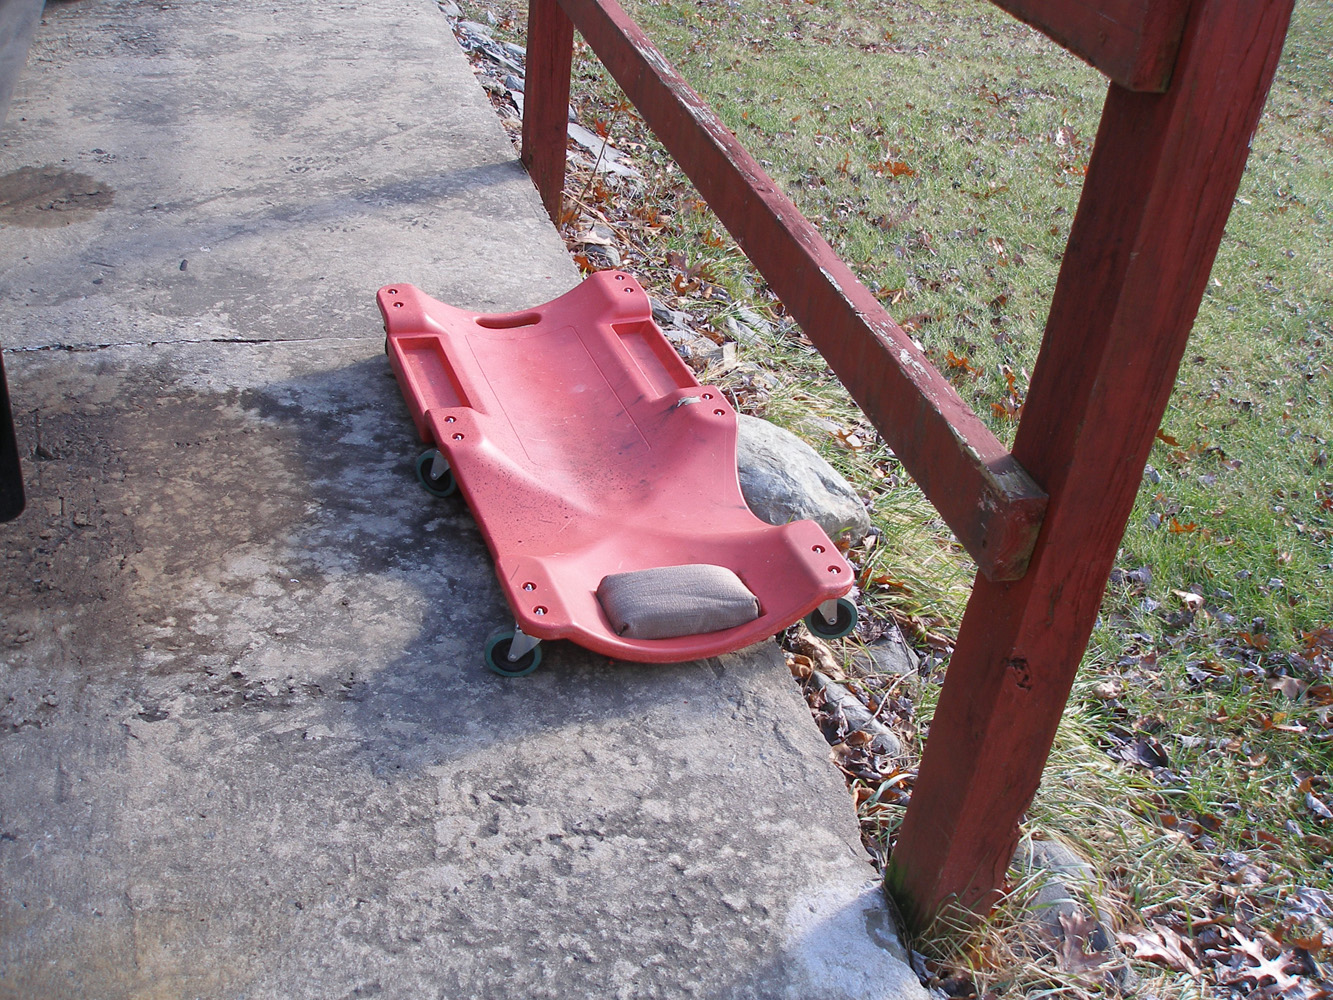
It would be nice if you had a creeper too. When I was younger I just used a piece of cardboard to scoot under on. But I am too old for that stuff now.
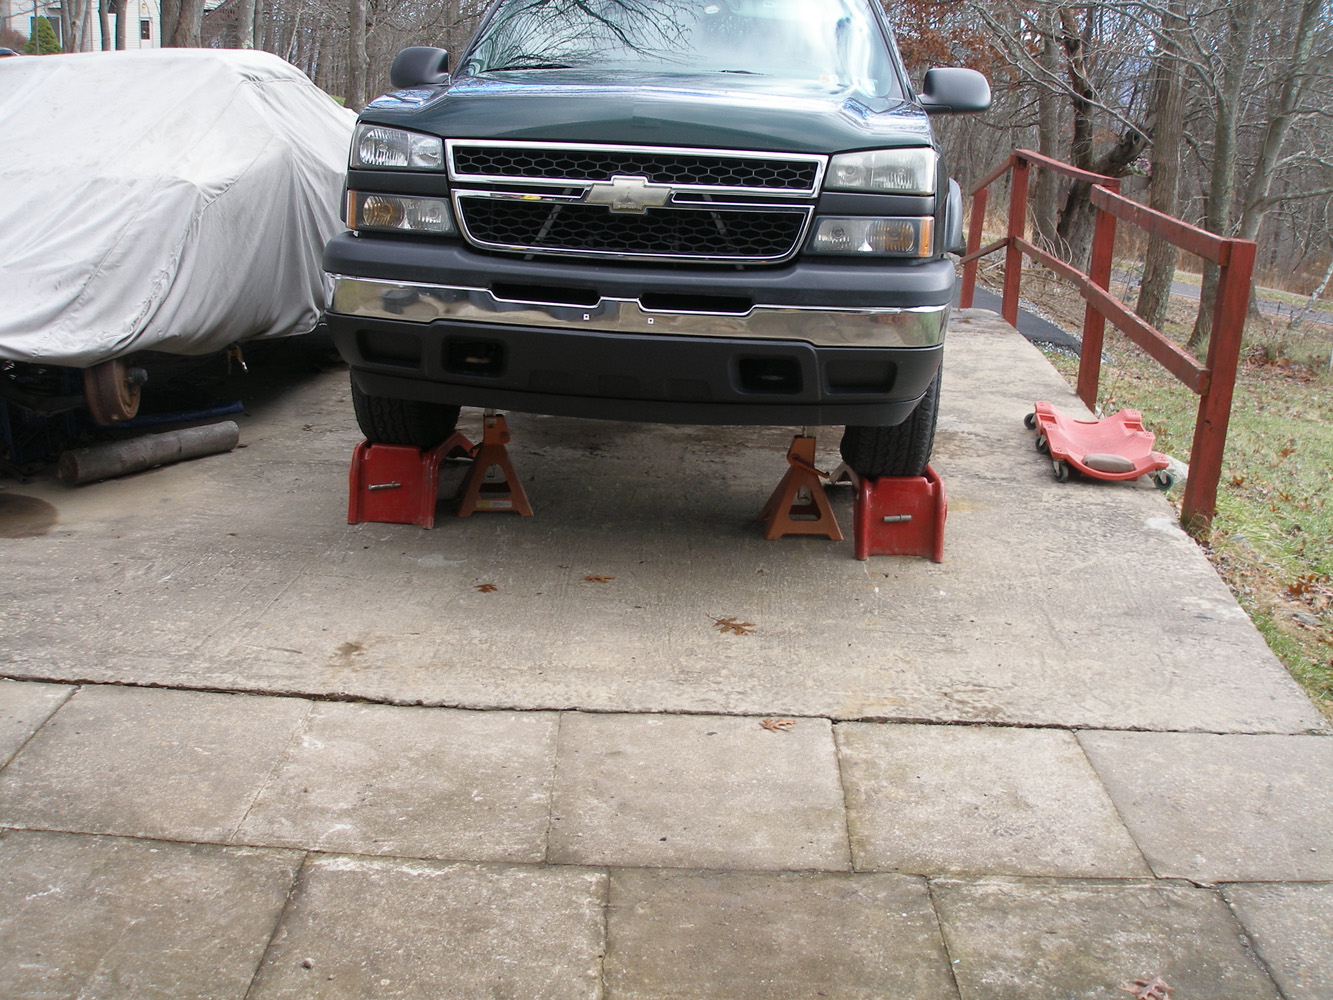
Always be safe…Always have a backup safety system That is why I put in the heavy duty jack stands.. Just think of it this way. Why gamble with your life, you might loose.
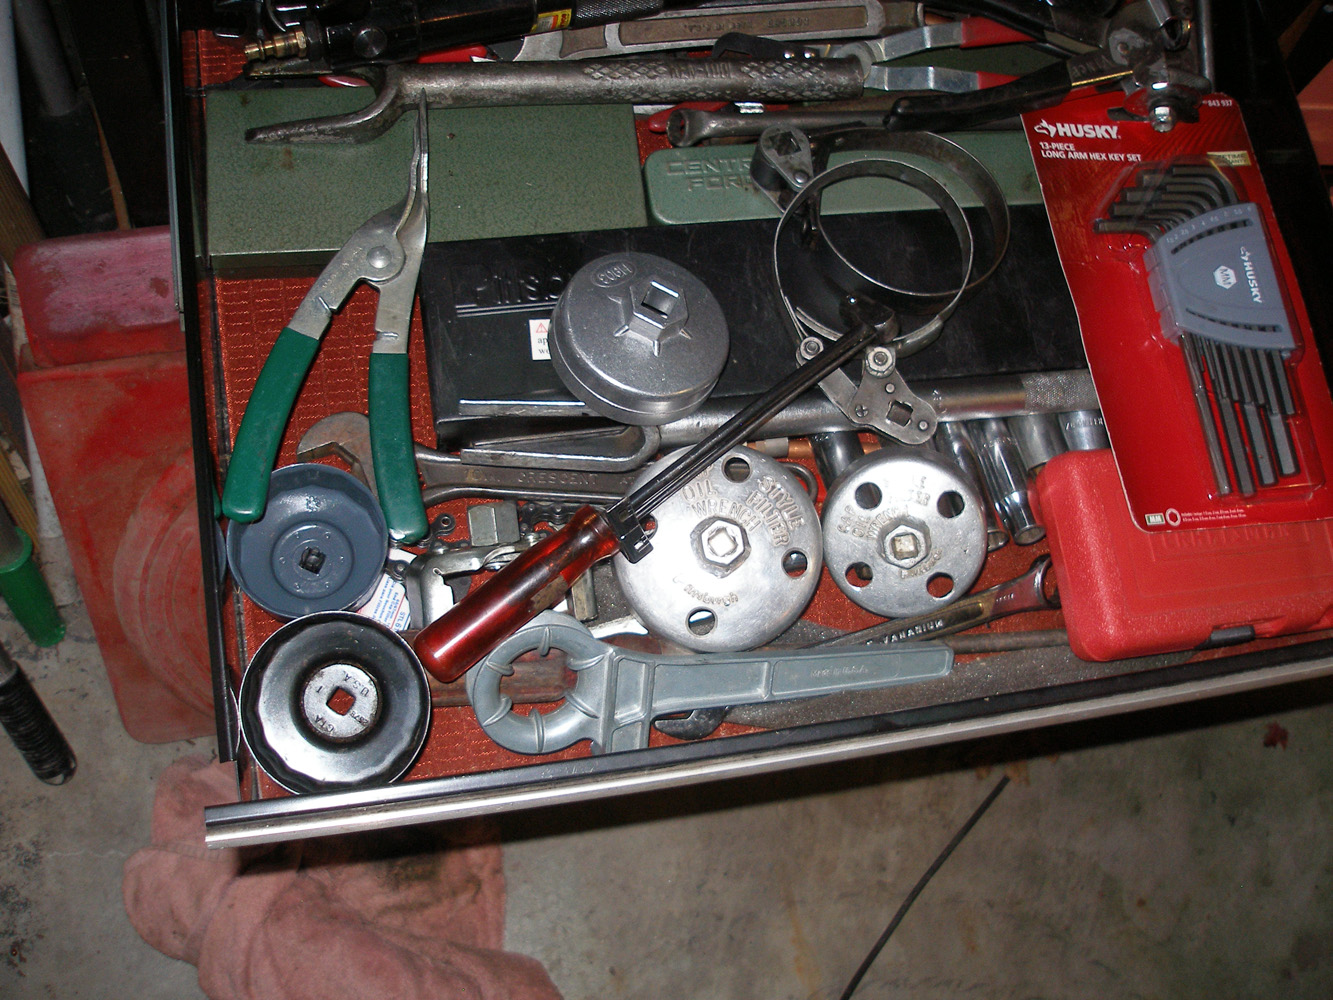
Oil Filter removal. If you always are going to use the same oil filter then use that oil filter when you purchase it to get a little filter cup socket to fit it. Usually if somebody other than yourself puts one on it will be a cheap one and good chance it will be some weird size too…In that case you will need a Chain oil filter removal tool…it can adjust to almost any size.. More than a few times I have ripped into the side of the oil filter because some num nut put it on with too much pressure. When you put one on you only hand tighten it. At the most you will give it a 1/4 turn with your filter socket.
Because oil filters are in different positions on the back side of the motor I did not shoot any photos of it because you will look for something similar and they are all a little different. You will see the oil filter on the back of the engine if you look for it and remove any belly pan that is on the car. Next you must find the back of the oil pan on the car..The oil pan is on the bottom of the engine and there will be one nut in it that you must remove to get the oil out …easy..Watch out because that stuff will pour way out and probably over shoot where you put that pan..so get ready to stick that bolt back into the oil pan and give it one turn to hold it there and move your oil pan to the new position. Then take that bolt out again and let the old black oil pour out.
Then put your oil filter socket on the oil filter and turn it till it comes off and quickly put the oil filter in the oil pan and move the pan so it is now under the oil filter so it can catch the oil coming out….Some cars and trucks do have the oil filter in the front of the motor…again check it out on E-Bay before hand.
Then when all the oil is drained out get a clean rag and clean where the oil filter came off so it will have a clean mounting surface for the new filter. Before you install the new oil filter put some new oil on the gasket so you will have a better seal. Then wipe down all under where the old oil filter dripped so it is nice and clean again. Also Remember to only hand tighten that oil filter. Some people say to give it 1/4 of a turn more with the oil filter socket with a ratchet on it. Kind of six of one and half dozen of the other. Don’t forget to put the bolt back into that oil pan. Do not over tighten it either.. Just a little past snug should do or maybe about 30 foot lbs…nothing more.
Then pour in your new oil in the engine and then start the engine, check under the truck / car for leaks..Let it warm up a little. Turn the motor off and check the oil level again. Make sure that you are up to the full level on the dip stick. Then you are finished except for resetting the the oil light / message on the dash.. Each car is a little different. Check the owners manual, if you don’t have that just google. What I had to do is put the car in park, turn the key on without starting the engine and hit the gas pedal 2 times with my foot and that will set it on most GM trucks…mine is an 07 Good luck to you. You might wonder if it is worth it. But usually they will never even show you what kind of oil they are putting in and they will put on a Chinese oil filter that is a piece of junk. I would suggest you changing the oil in the fall while you can still get under the car…
Front End Alignment Porsche 1982 911sc
If you are going to do a Front End Alignment on a Porsche like this one you will have to be very careful that you do not strip the threads with those allen bolts that hold the shock to the Strut tower. They can be under some pressure when you put that bolt back in and if you don’t have those holes lined up just right it will be so easy to strip them. It is not a good idea to use a cheap Tap…Only use one made in the US if you can help it. With those cheap taps they will actually distort on the first cutting edge and mess up even a perfectly good thread with them. You should really get a Re Threader Tap to do this. You have more surface to grab with regular socket and ratchet …just make sure you get it to go in straight when you turn it. You should actually use a tap cutting oil when doing this, then turn it in maybe a quarter of a turn and turn it back out …then keep doing that over working your way down into the threaded hole. In theory these units should be more gentle than a regular tap so they can get started much eaisly. Here is a photo of the hole that I had the problem with. looks like how could you mess that up right..well a steel plate goes over that hole…then a reinforcement bracket gets screwed down on that too..so now you have 2 other pieces of steel to go through also.
Now for a look at those ReThreader Taps, This is what they look like:
Purchased them from E-bay and should recieve them agout the 17 of Nov.
Diamond Pleating
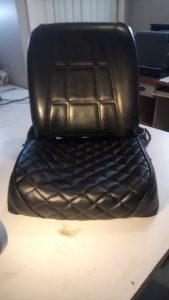
This is a photo of a new students work after 2 weeks of watching one video. He only did the bottom of the seat because it was worn out and that was what the customer wanted. Not bad for somebody with 2 weeks experience.
Light bulbs in your car, and how to fix them.
These are the tools you will need to do this job
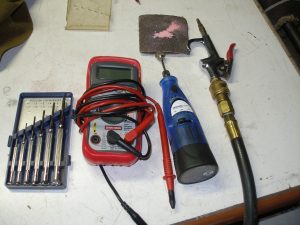
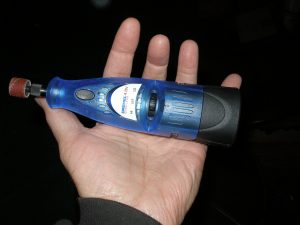
You will need a Voltage multi meter. You will get what you pay for. Try not to get one too cheap. I got this one from sears because it was on sale at the time and it is suppose to be an automotive one that can work on Sensors too. You will also need some emery paper and maybe a small wire brush with maybe some brass wires on it to remove corrosion. Also some Jewerly screw drivers. A good Phillips screw driver too, a dremel tool with a round wire brush in it that just fits in a round socket for the bulb. You can use some of the small screwdrivers to scrape the channels in the side of the light socket to get out the corrosion. You will need to blow out the corrosion out of that socket. You can use an air gun nozzle attached to a small compressor or you can go and purchase a can of air that is used to blow out electronic equipment like keyboards and computers too.
When you have a tail light issue you must first remove the tail light using usually phillips secrew driver. Then you can remove the bulb to see what is going on. On most bulbs you will have to turn them 1/2 turn counter clockwise to get them out. Then pull them.
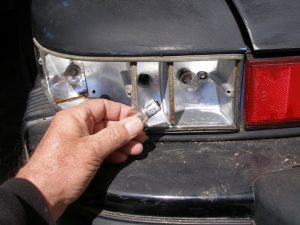
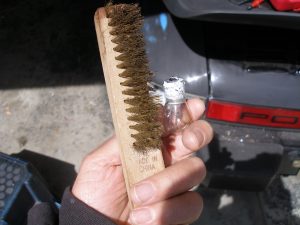
You can see that this bulb is coverd with corrosion. This car was purchased not too far from the ocean too. All that salt gets in the air and will corrode anything. I used a brass bristle brush to get most of the powder off of the bulb. Then I had to get some Emery paper, for metal and 80 grit to remove the rest.
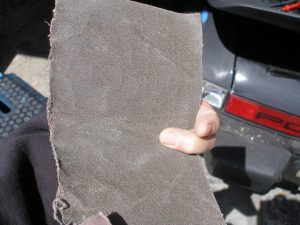
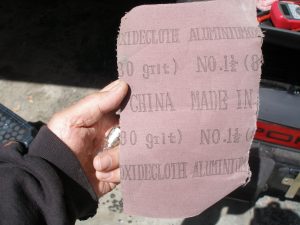
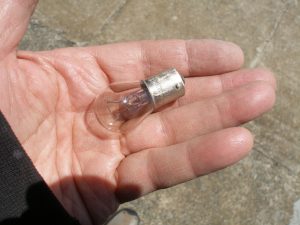
You can see the bulb now that it was completely cleaned. The next step is to look at the philament in the bulb to make sure that it is solid and not broken. Have a backup bulb standing by anyway.
Next is to check for power. Turn you lights on and get your voltage meter. Put the red lead to the prong on the bottom of the socket and use the other lead , usually black to one of the mounting screws to the body …should be a good ground. See if you get approx 12 volts…If you do then you are good if not then you have to check your ground to see why you have no power. Or go back from the wire on the bulb and trace it to find out why there is no power.
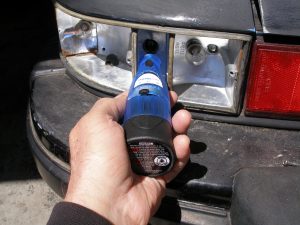
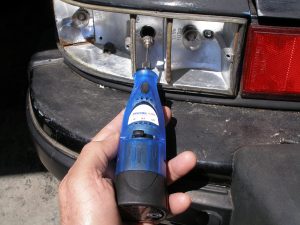
You must remove all the corossion from the socket now too. Best way is with a Dremel tool with a small brush on it. YOu will have to scrape the channels too going down the sides of the socket to get the corrossion out of the socket. Then last but not least is to blow out all the dust. Since I have an air compressor it was easy.
Trouble with the Battery Ground Cable on a Porsche 911SC
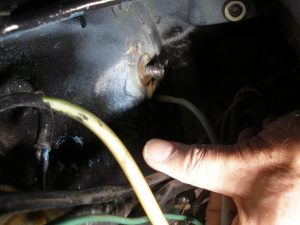
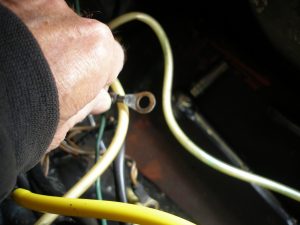
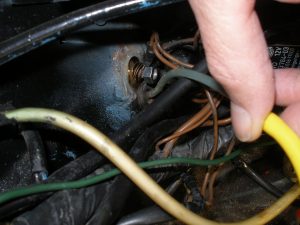
If you have one of these Older 911’s and you are seeing half your car interior lights are dim or even all of them are dim then it is a good chance that you have a poor ground.
The First place you should look at is your battery ground. To do this you will have to take your battery out of the car.
Because your ground strap gets mounted behind the battery.
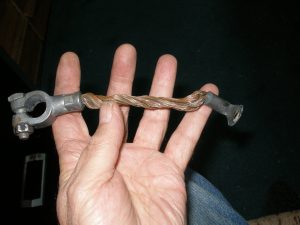
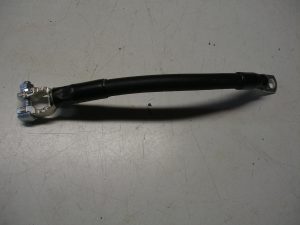
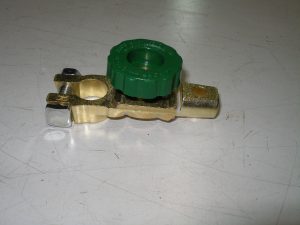
If you have one of these battery cables that looks like a twisted pig tail and has corrosion around both of the connectors then you should really chuck it.
ANTIQUE AUTOMOBILE WIRING
Whenever working on an Antique Auto sometimes it is good to replace all the wiring. Those really old cars usually have some kind of cloth covered wiring that is really bad and it is just a matter of time before it shorts out completely. Even On Porsches from the 80’s the wiring is just terrible. It might look good but the plastic/rubber cover on those cars is a joke. If you try to solder those wires the covering on them will melt about 3 to 4 inches back from where you are soldering. So just imagine what would happen if you had a short…forget about it. They do make old looking wire now that is top notch because it is made of new materials.
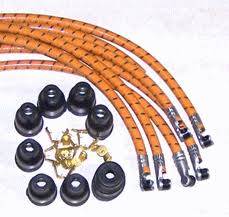
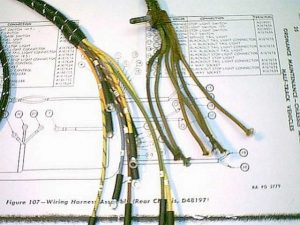
Sometimes you can hollow out some old part and put the new parts into it and nobody will ever know. Judges normally do not open anything or remove anything. So what they don’t see will not hurt them.
WIRING PROBLEMS FOR OLDER CARS
On some older cars like Porsche 911 or Jags, you can run into a lot of problems with the wiring. The problem with these cars is that you have one fused line tying into another fused line and on and on. So wires can short easily and the short will be very difficult to find. You would think that there would be all separate lines for each fused
line right? Not so, why they designer a wiring mess like this I have no idea.
Sometimes it is probably better to run your own separate line to that part. Simple is always better.
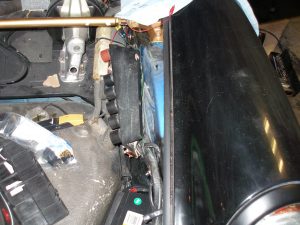
That is what I might do to this Porsche. I can’t get the power windows to work. Sometimes I have power to them and sometimes I don’t…I will try 3 different relays next and If I have the same problem I know will know for sure that there is a problem with them or not. I think I tried this before but I will try it one more time just to be sure. What fooled me on this Porsche is that there are 2 ACC stops on the key before it starts and only in the second ACC position will the windows work at all. I did not know this before.
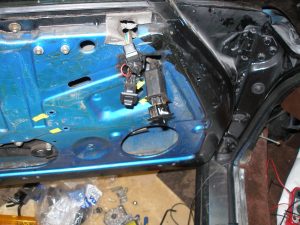
Here is the thing with the Porsche 911sc….it was a racing car that was turned into a consumer car by adding on some junk like power windows and a radio and cigarette lighter. This stuff is really out of place in this car. Ok the radio I will keep. But if there is any way I can put in a crank window handle on this car I will do it. Short of that I will run my own circuit to the power windows.
If somebody was going to fix the wiring to make it work like it was when it was new would cost a fortune. Sorry I am not going down that road. Simple is always better. Always hatted anything with power Accessories.
WORKING WITH PORSCHE WINDOW MOTORS
Did you know that when testing a Porsche 911SC window motor you have to put the postive on one terminal and the neg on the other or it will not work. You cant ground these out like a GM window motor. There is no ground on the Porsche motor.
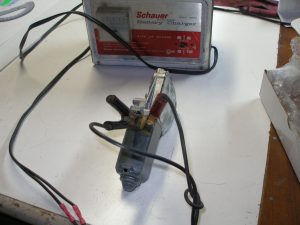
Now once you put the motor in the regulator arm in the door you will not be able to move it so you can get the screws in. The only you can move the arm is with the motor. For this reason you will have to attach 2 leads to the motor and you can operate the motor by just hooking it up to a small battery charger. To reverse the direction of the motor just reverse the leads and it will go the other way.
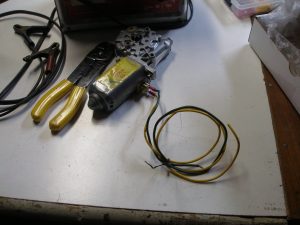
You will need to adjust the position of the arm so you can get the mounting screws in to hold the arm in place.
Hey…nobody said it would be easy.
Now once you get the arm in with the motor in it I would not hook it up to the button wires until you test the wiring first. For that I suggest you get a test light and put it between those wires. When you push the button on the door you should see the light go on. If the light is on all the time something is really screwed up. You either have a bad relay or you have a short.
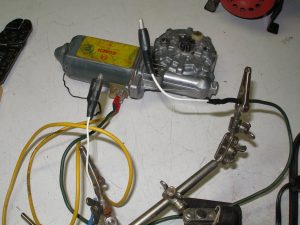
It is always good to put alligator clips on the ends of your test leads attached to the power window motor. This way you will be able to hook up your battery charger to these clips very easily.
Still trying to trace down where that short could be or where the current stops. I remember talking to a Porsche Mechanic at Martini Racing, here in Stroudsburg, PA He told me to check out the connector that was behind the front fender. He told me to just tap it with a screwdriver by hitting it with a hammer to make connection.
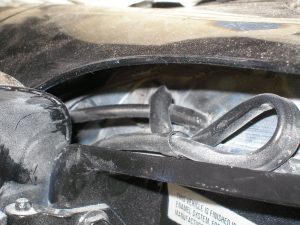
I tried that and nothing happened. this wire connector is actually just about 4 inches behind where the gas fill pipe is. You have to open the drivers door and look into the back of the front fender in order to see it. If you want to remove it …good luck…you will need a pliers about 15 inches long….which I sent away for.
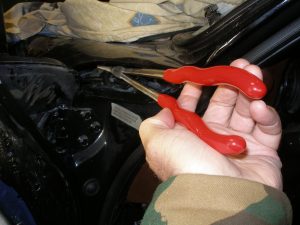
Here you can see this baby in use. It is the only way to lift up this wire socket… When I removed the socket I looked at it and the prongs looked fine.. but when I looked in the female socket I thought I could see some corrosion in there so I got a can of contact cleaner and sprayed it into the connector.
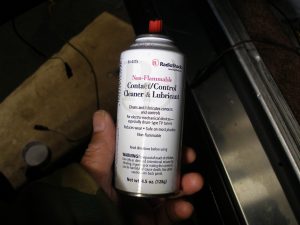
This is the can of cleaner I used. Then putting that connector back in was no simple task either.
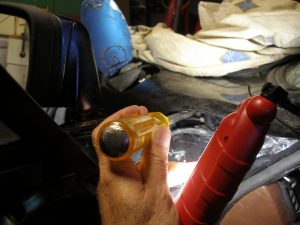
Here you can see how I had to tap the connector in. After I tapped the connector in the window motor started to work….Don’t forget though you must have the Ignition in the second ACC spot…the spot where the fuel pump is working on a 911SC…or else your windows will not work Thought I was done…but not quite…having the same problem with the passengers door…But I have power at the switch so that is half the problem fixed right there… It really looks like the motor is shot there. Good thing I have those test leads I made…I will remove the wires on the motor and put my wires on it and hook it up to my battery charger that is 10 Amp….and if the motor works I know that it is the switch…But I did change the switch Button and it still did nothing. But I still want to test that motor without removing it from the door, because it is such a pain to get that thing out. I could always hook up that other test light to the motor connectors and if the light goes on then I know the switch is good if I am pressing it… So there you have it . There are many different ways to skin this cat..
WORKING WITH PORSCHE DOOR CABLE
Getting back to the Door cable in the Porsche 911, here is the scoop. The Factory will no longer sell the original cable that would just cost $8.25 probably because it was a piece of junk. The wire in the cable would stretch out and you could no longer open the door. So now the Factory or Warehouse will only sell the replacement rod and lever for $125 plus shipping.
Forget about that I will make my own. I will make it adjustable with a turnbuckle which is aluminun and the eyes in it are steel. To weld anything like this…welding to a 3/16 spring steel rod you will need a 3rd hand.
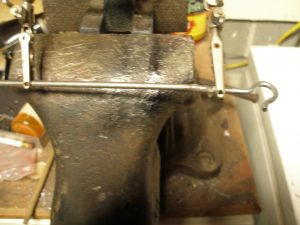
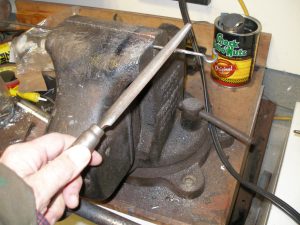
When you are welding a 3/16 rod to a threaded rod you will need some good power to your MIG…I had to put mine on the 3rd heat range to get a good weld. Here you see me filing it down after I put it on a grinding stone.
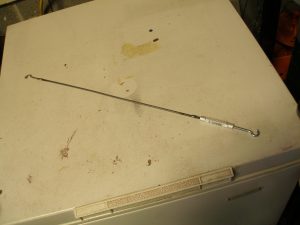
Here you can see the finished piece with the turnbuckle on it. You can see that I cut part of the eye out in the turnbuckle to make a hook so it would fit in the door. I then had to get a file and file down the raw edge to round it off so it would slip into that plastic bushing and lock in place.
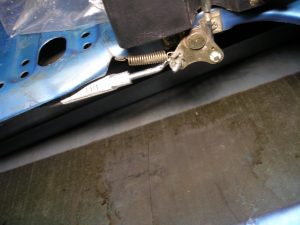
In this photo you can see the rod installed in the door latch and I is working fine and is adjustable too.
Fender Restoration
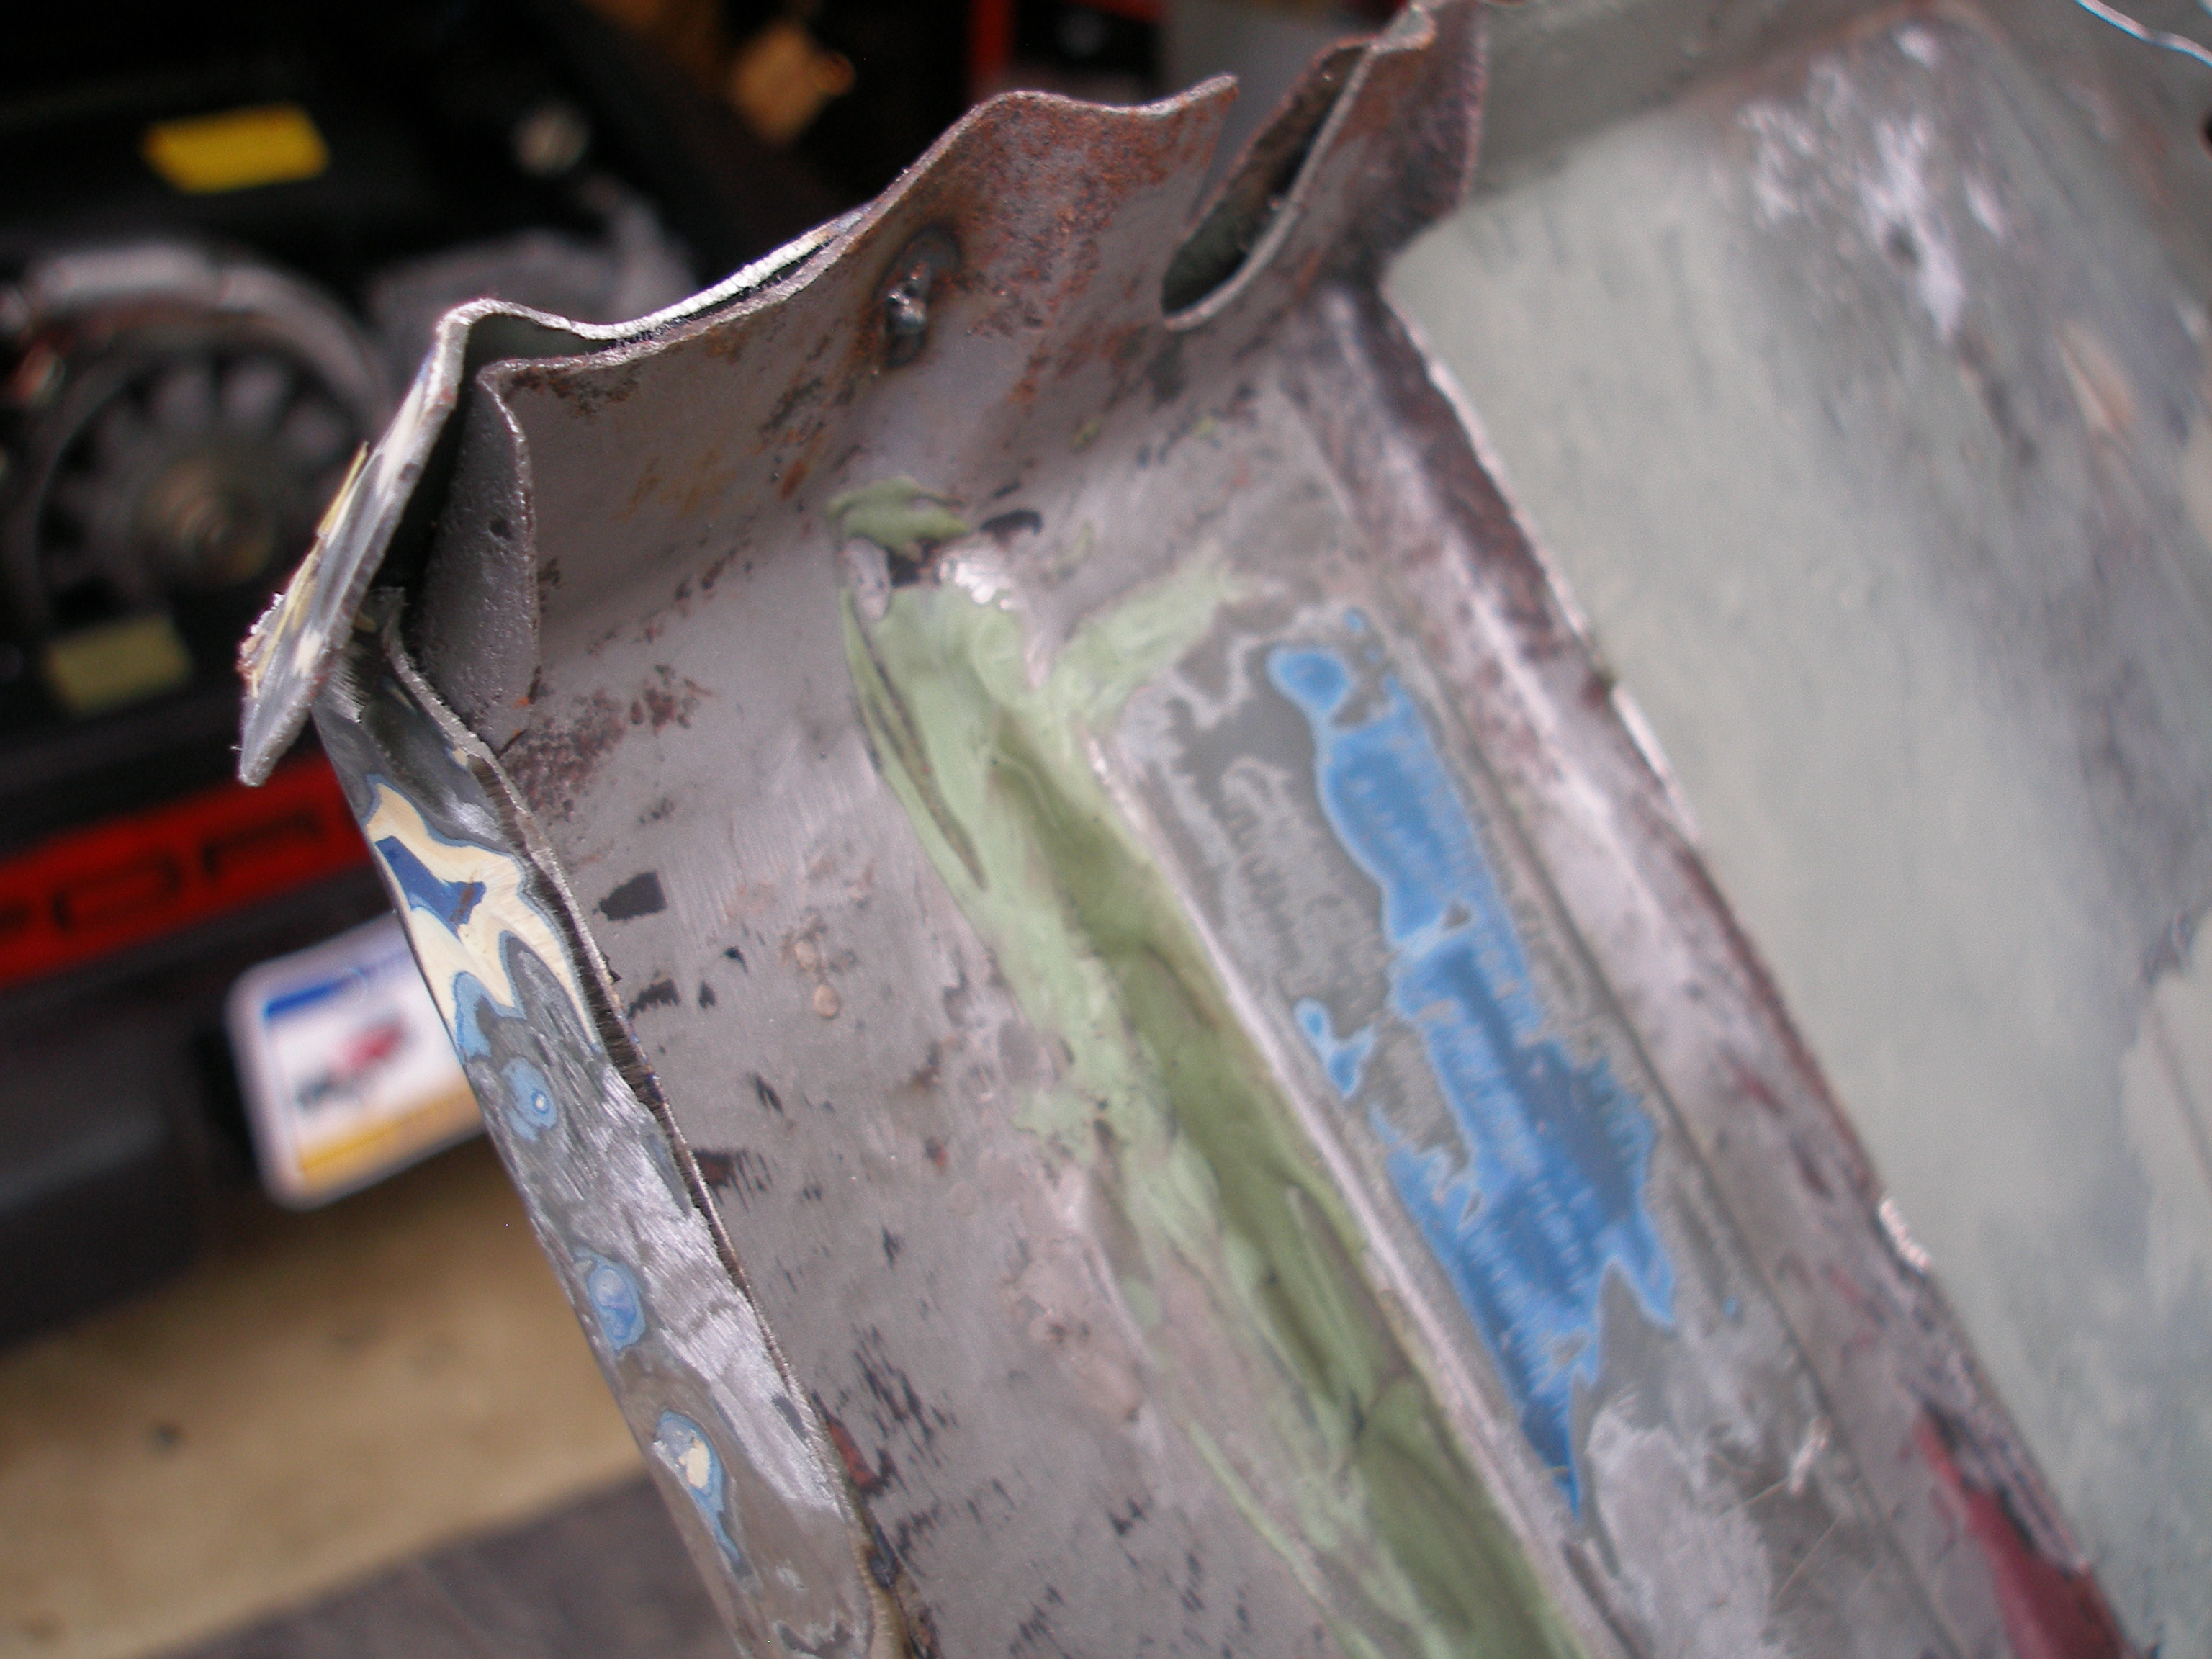
Normally this corner of the fender was one solid piece of metal because it was Stamped
out with a 60 Ton press and made short order of the whole fender. But when a piece of fender had to be replaced you have to weld back on to the original fender and make it look like the original piece. This is the process you will have to go through.
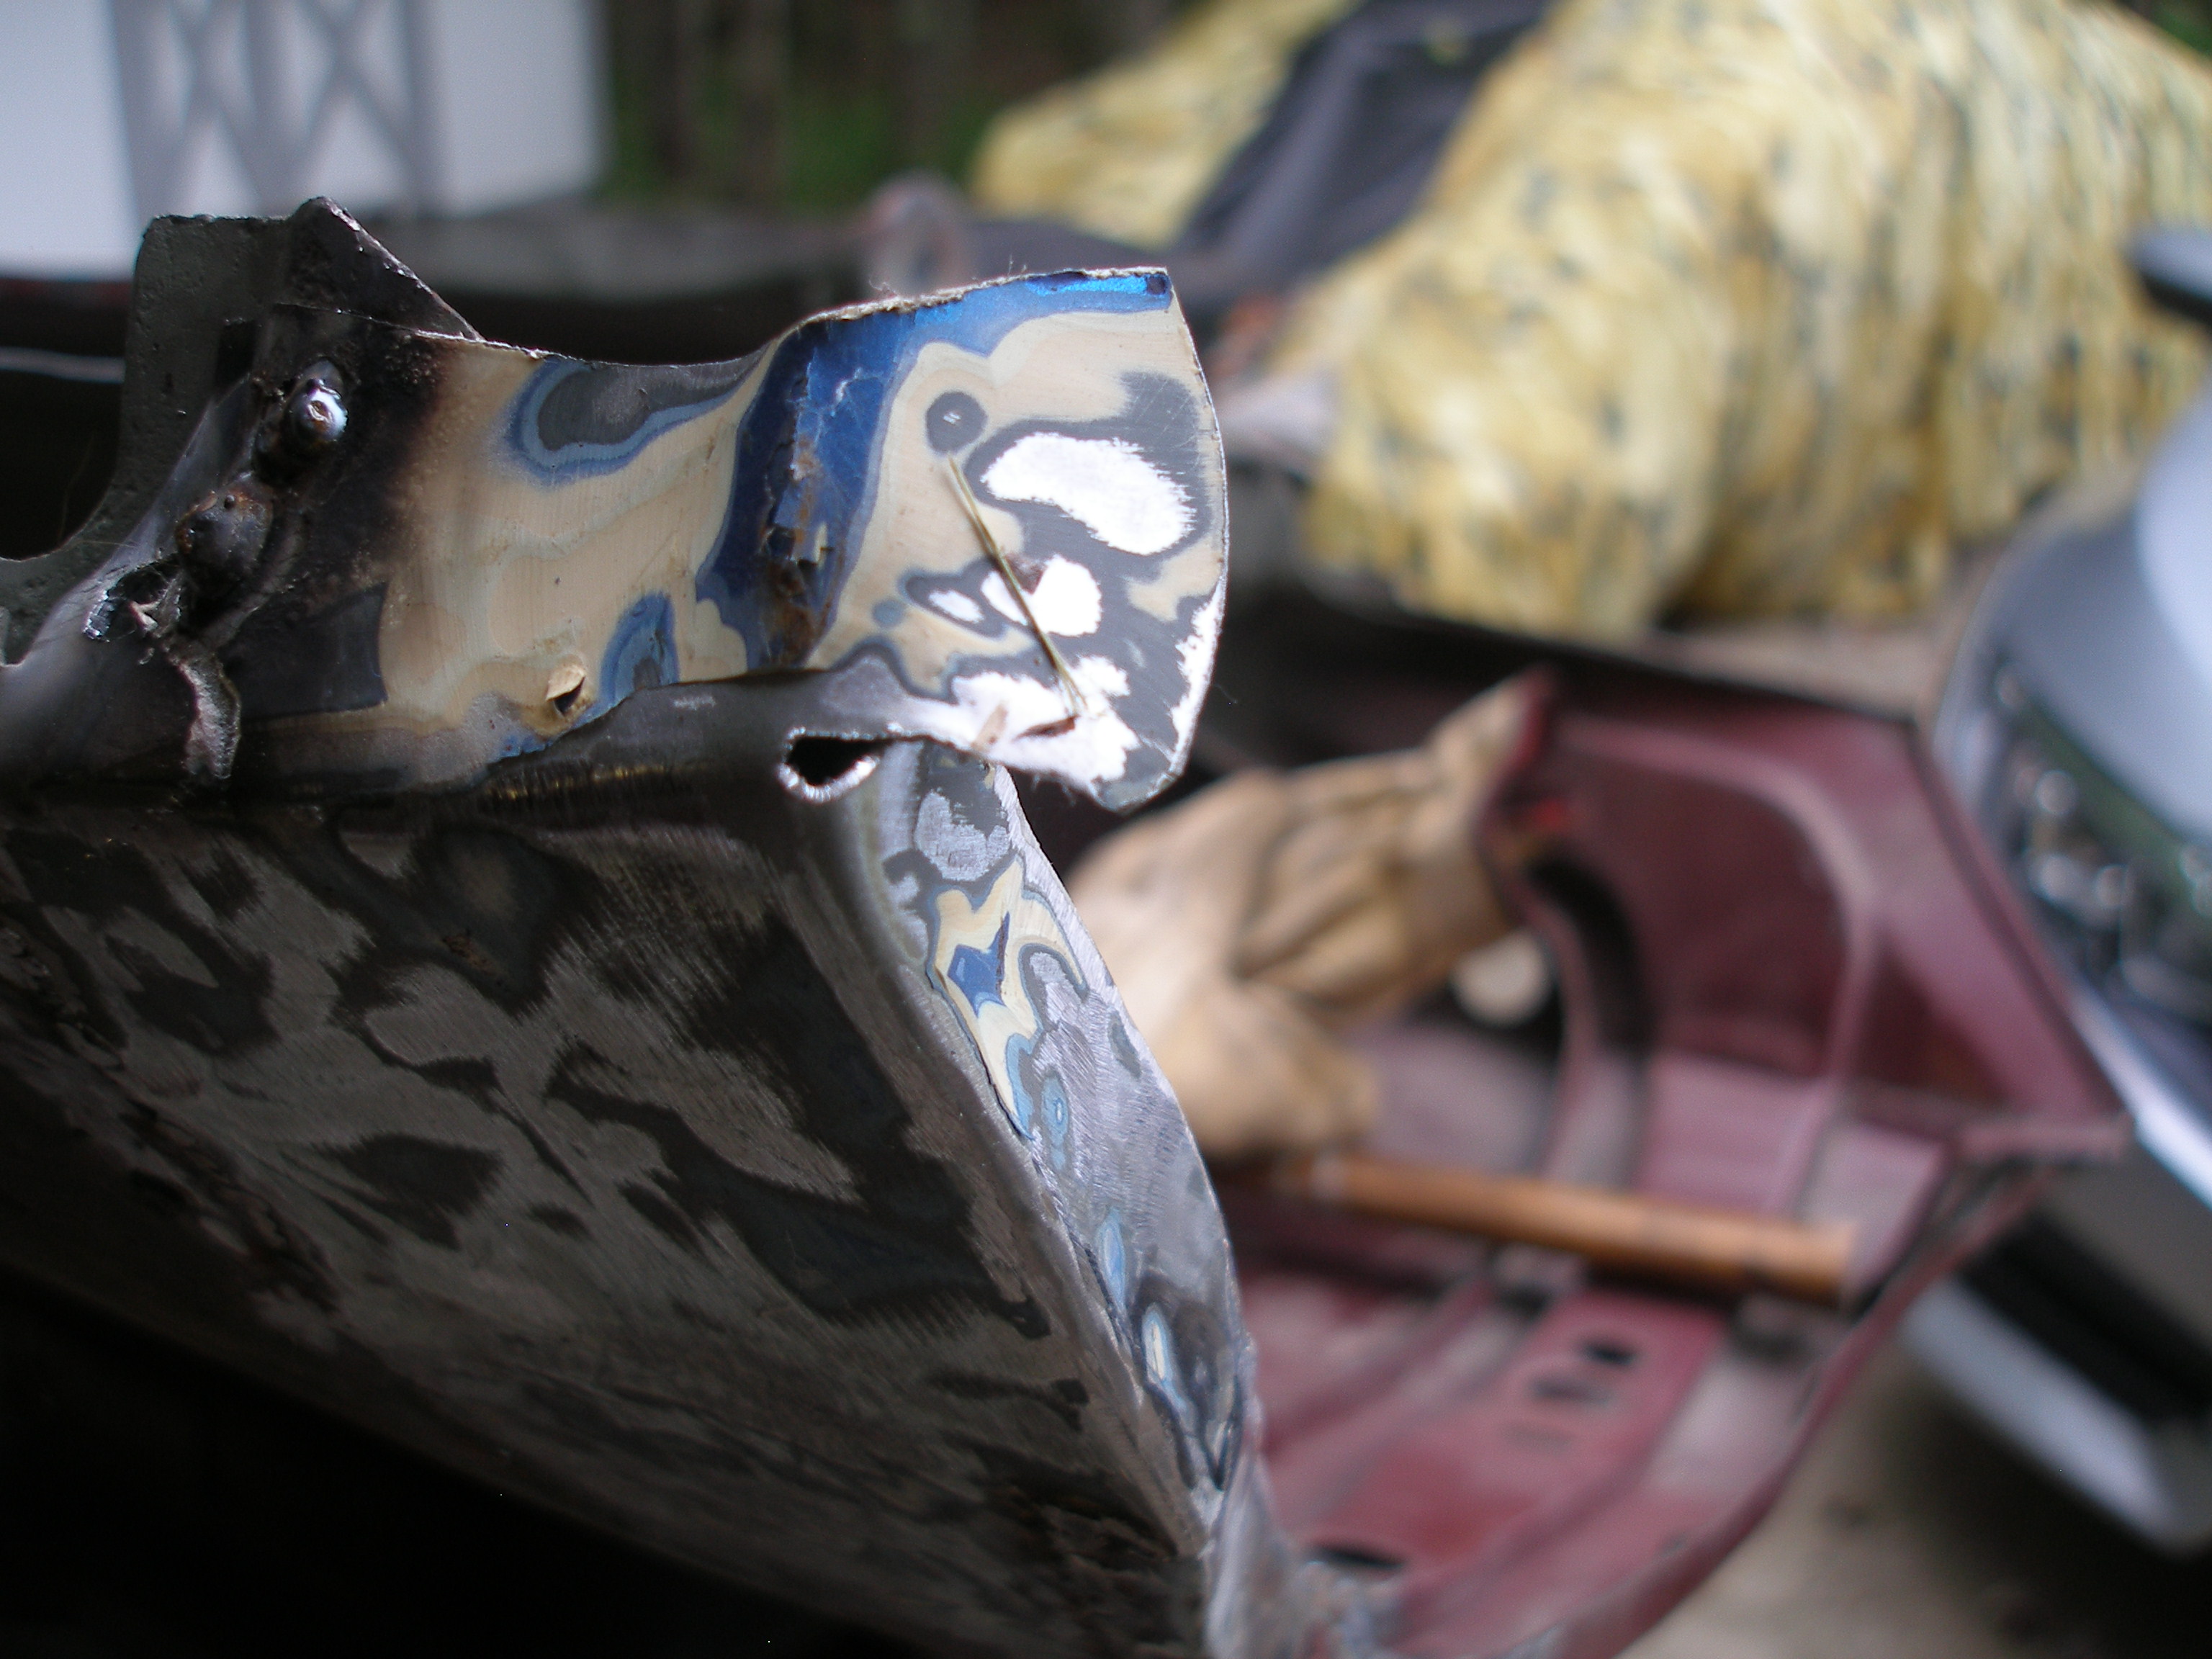
So I left extra sheet metal on this piece because I knew I had to bend it over the reinforcement piece under it and trim it to size.
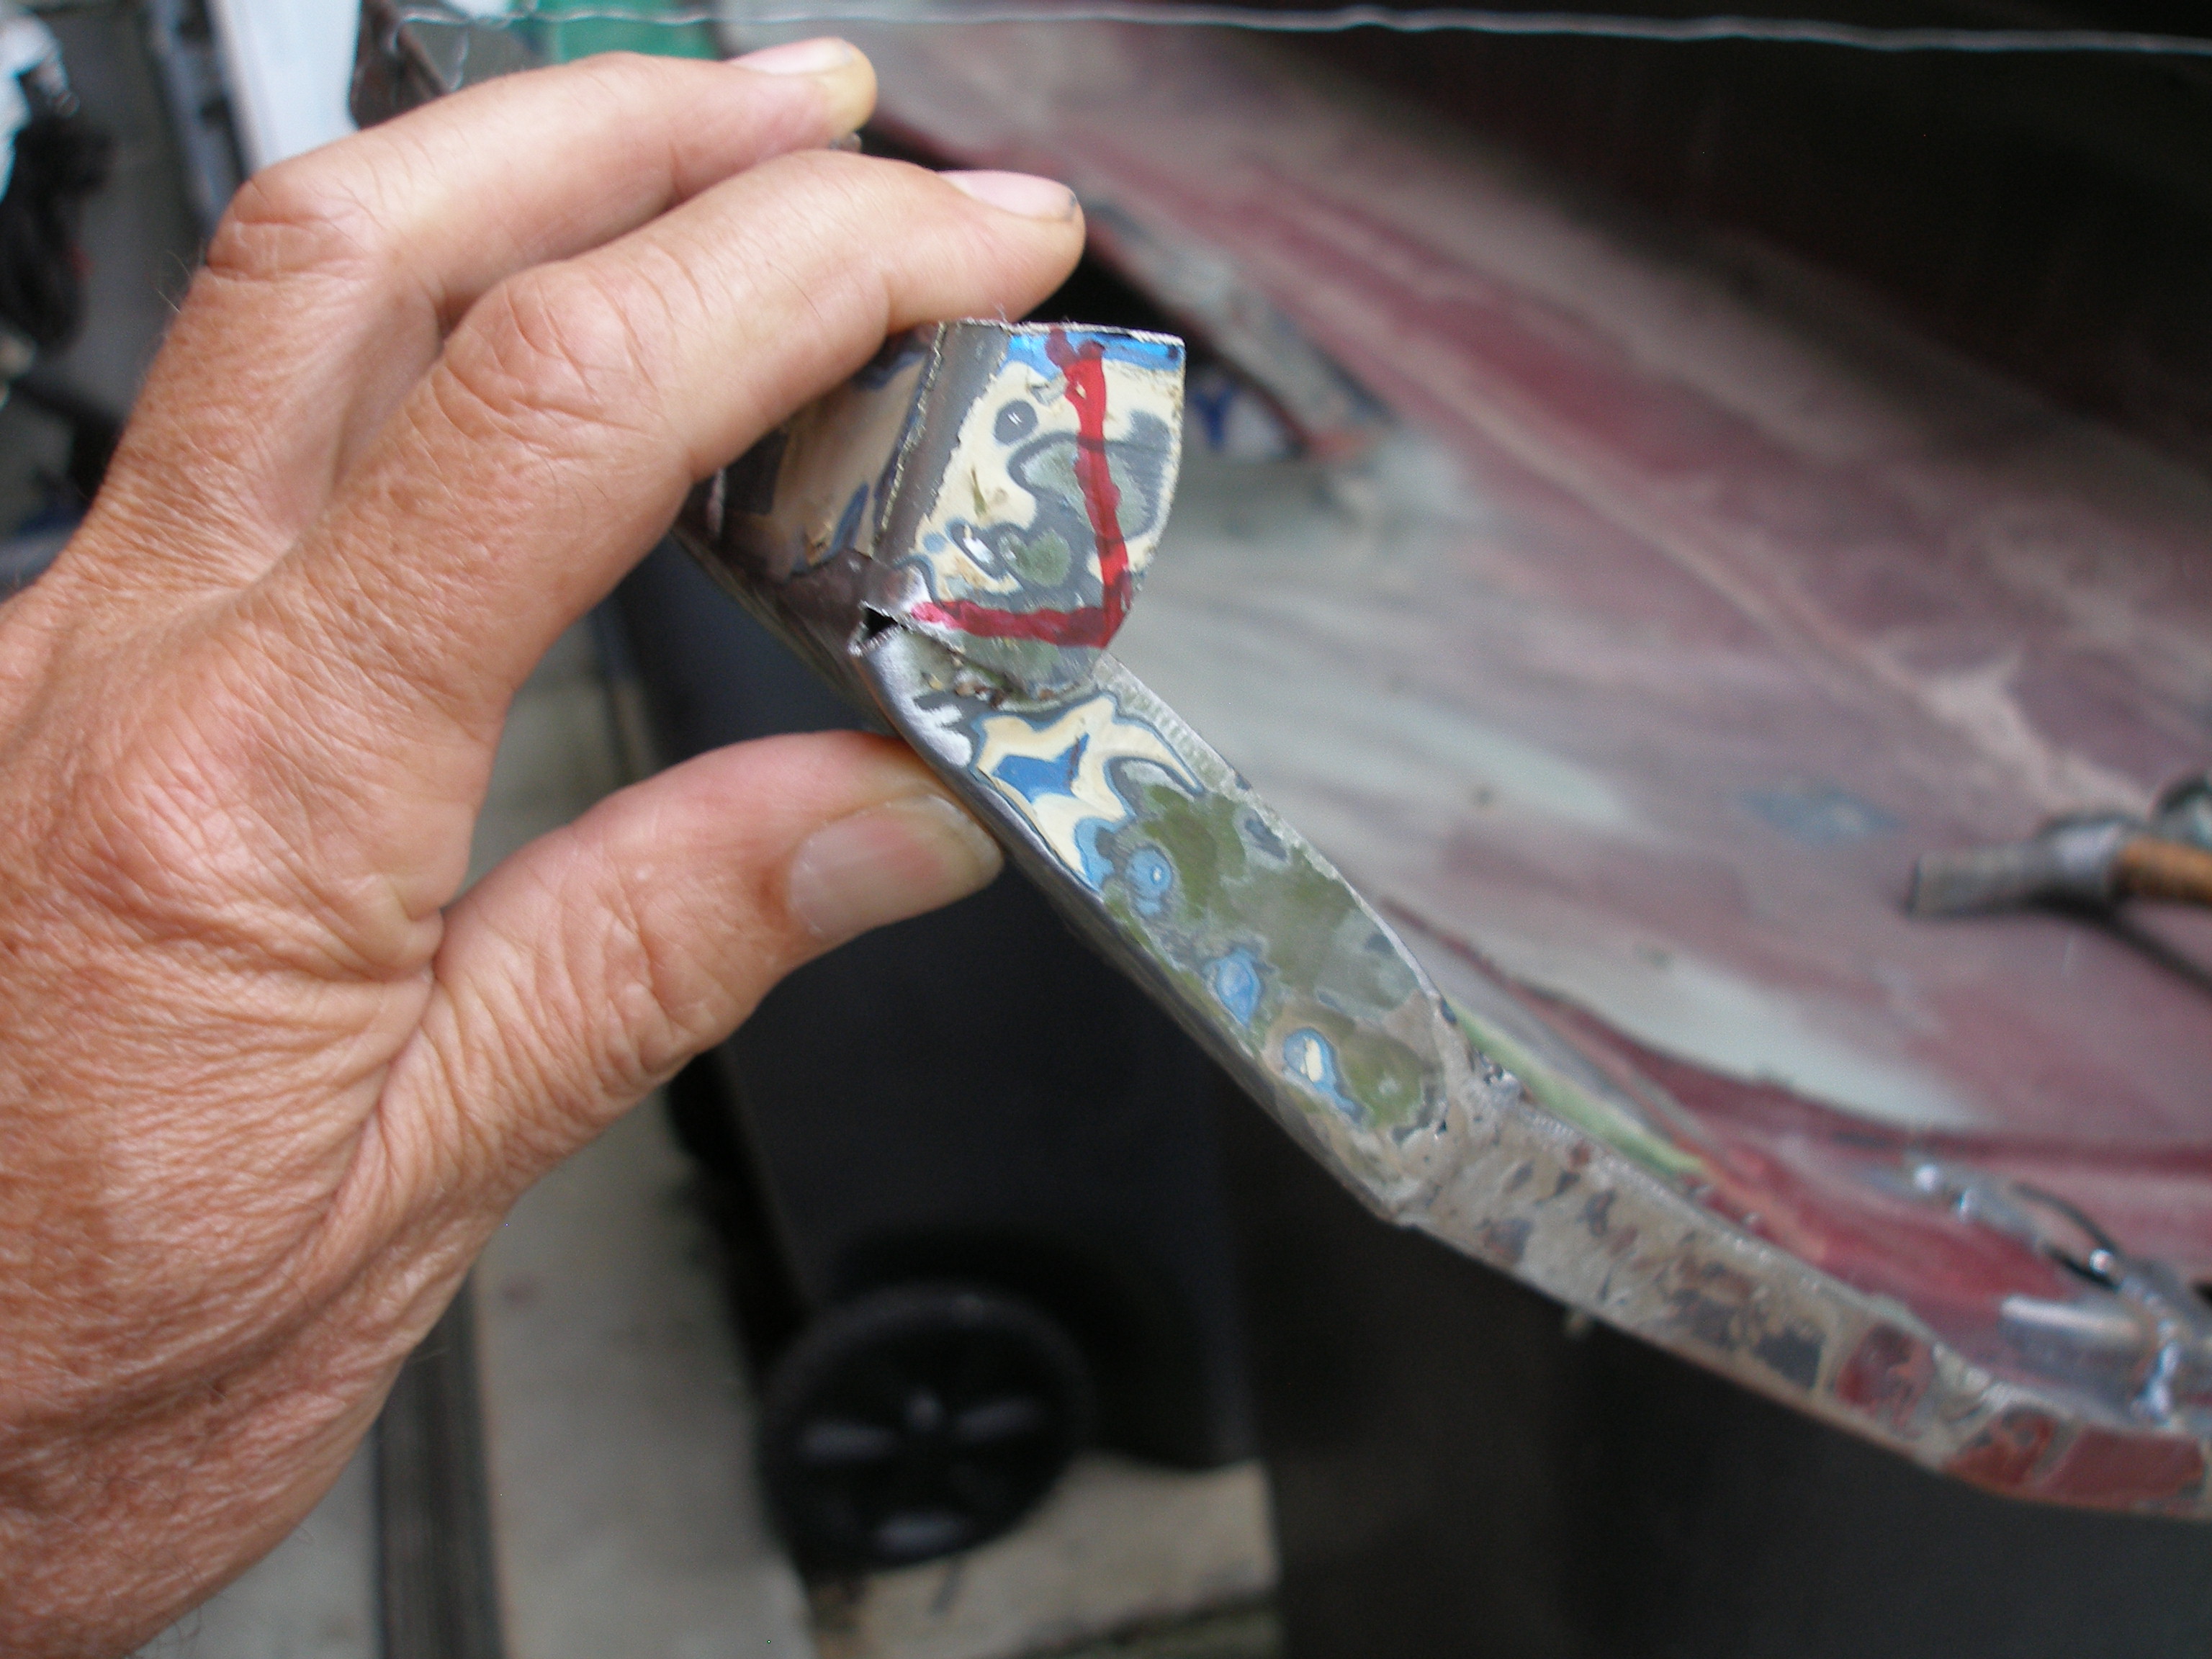
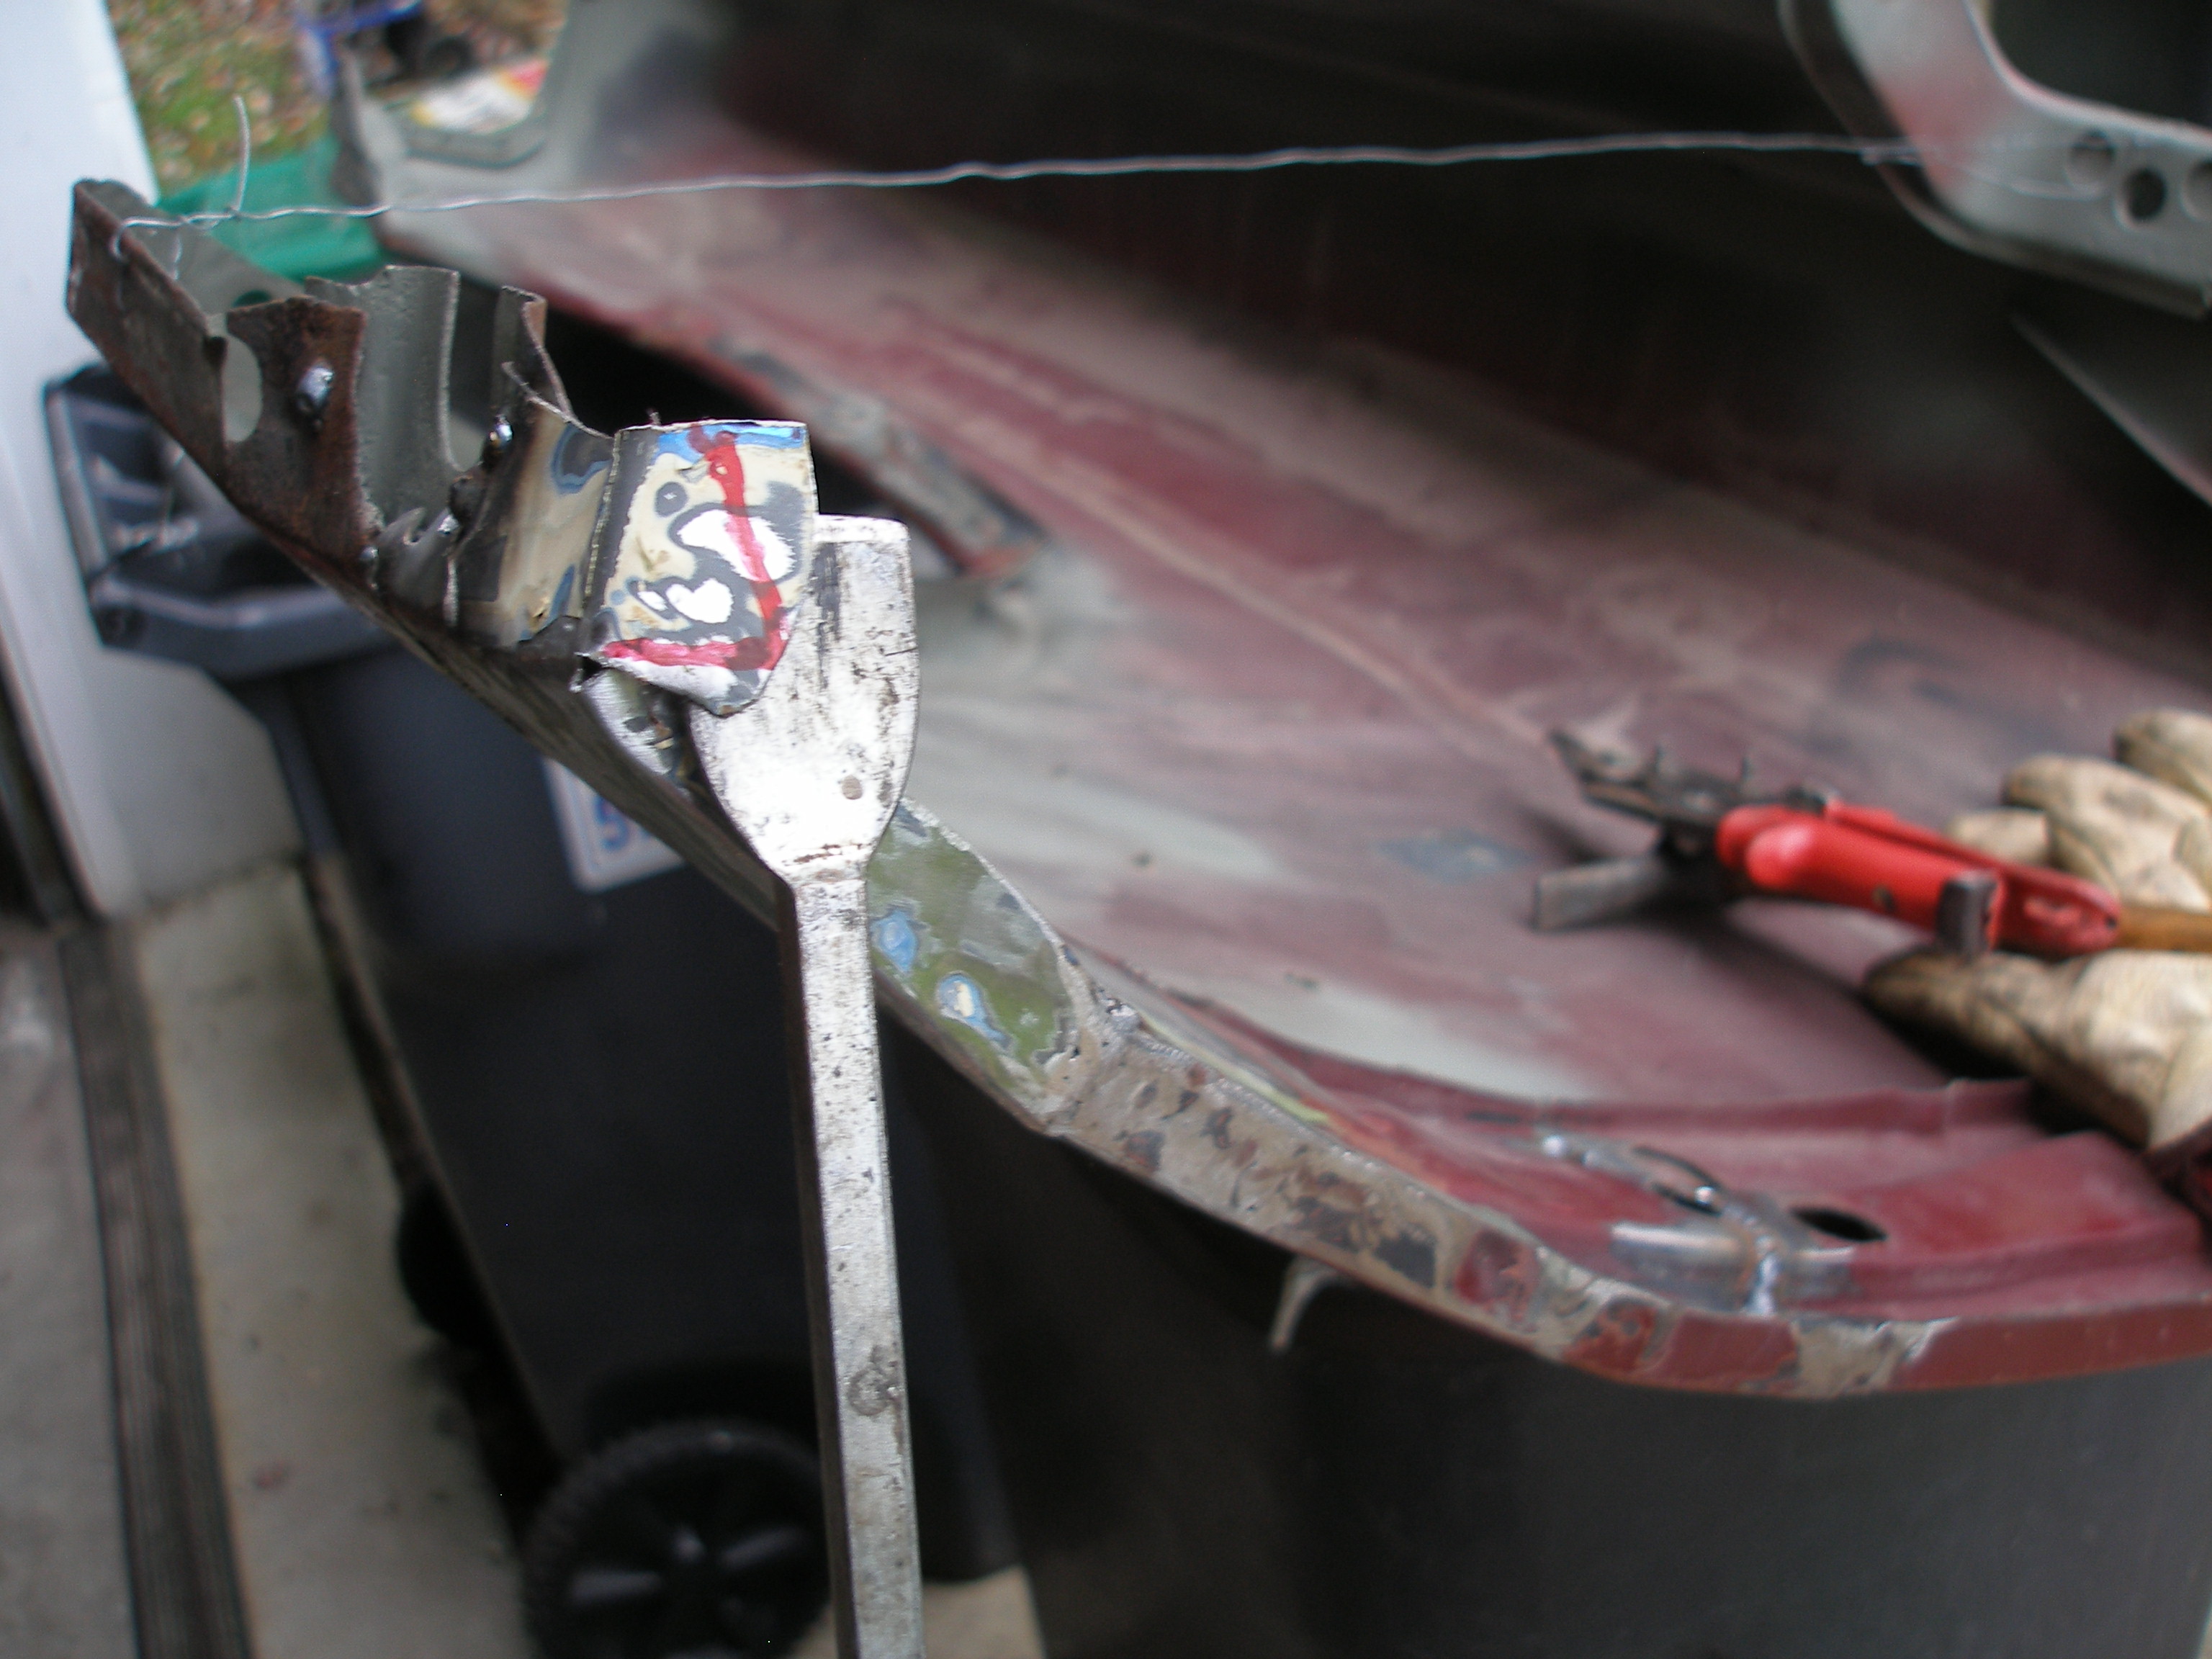
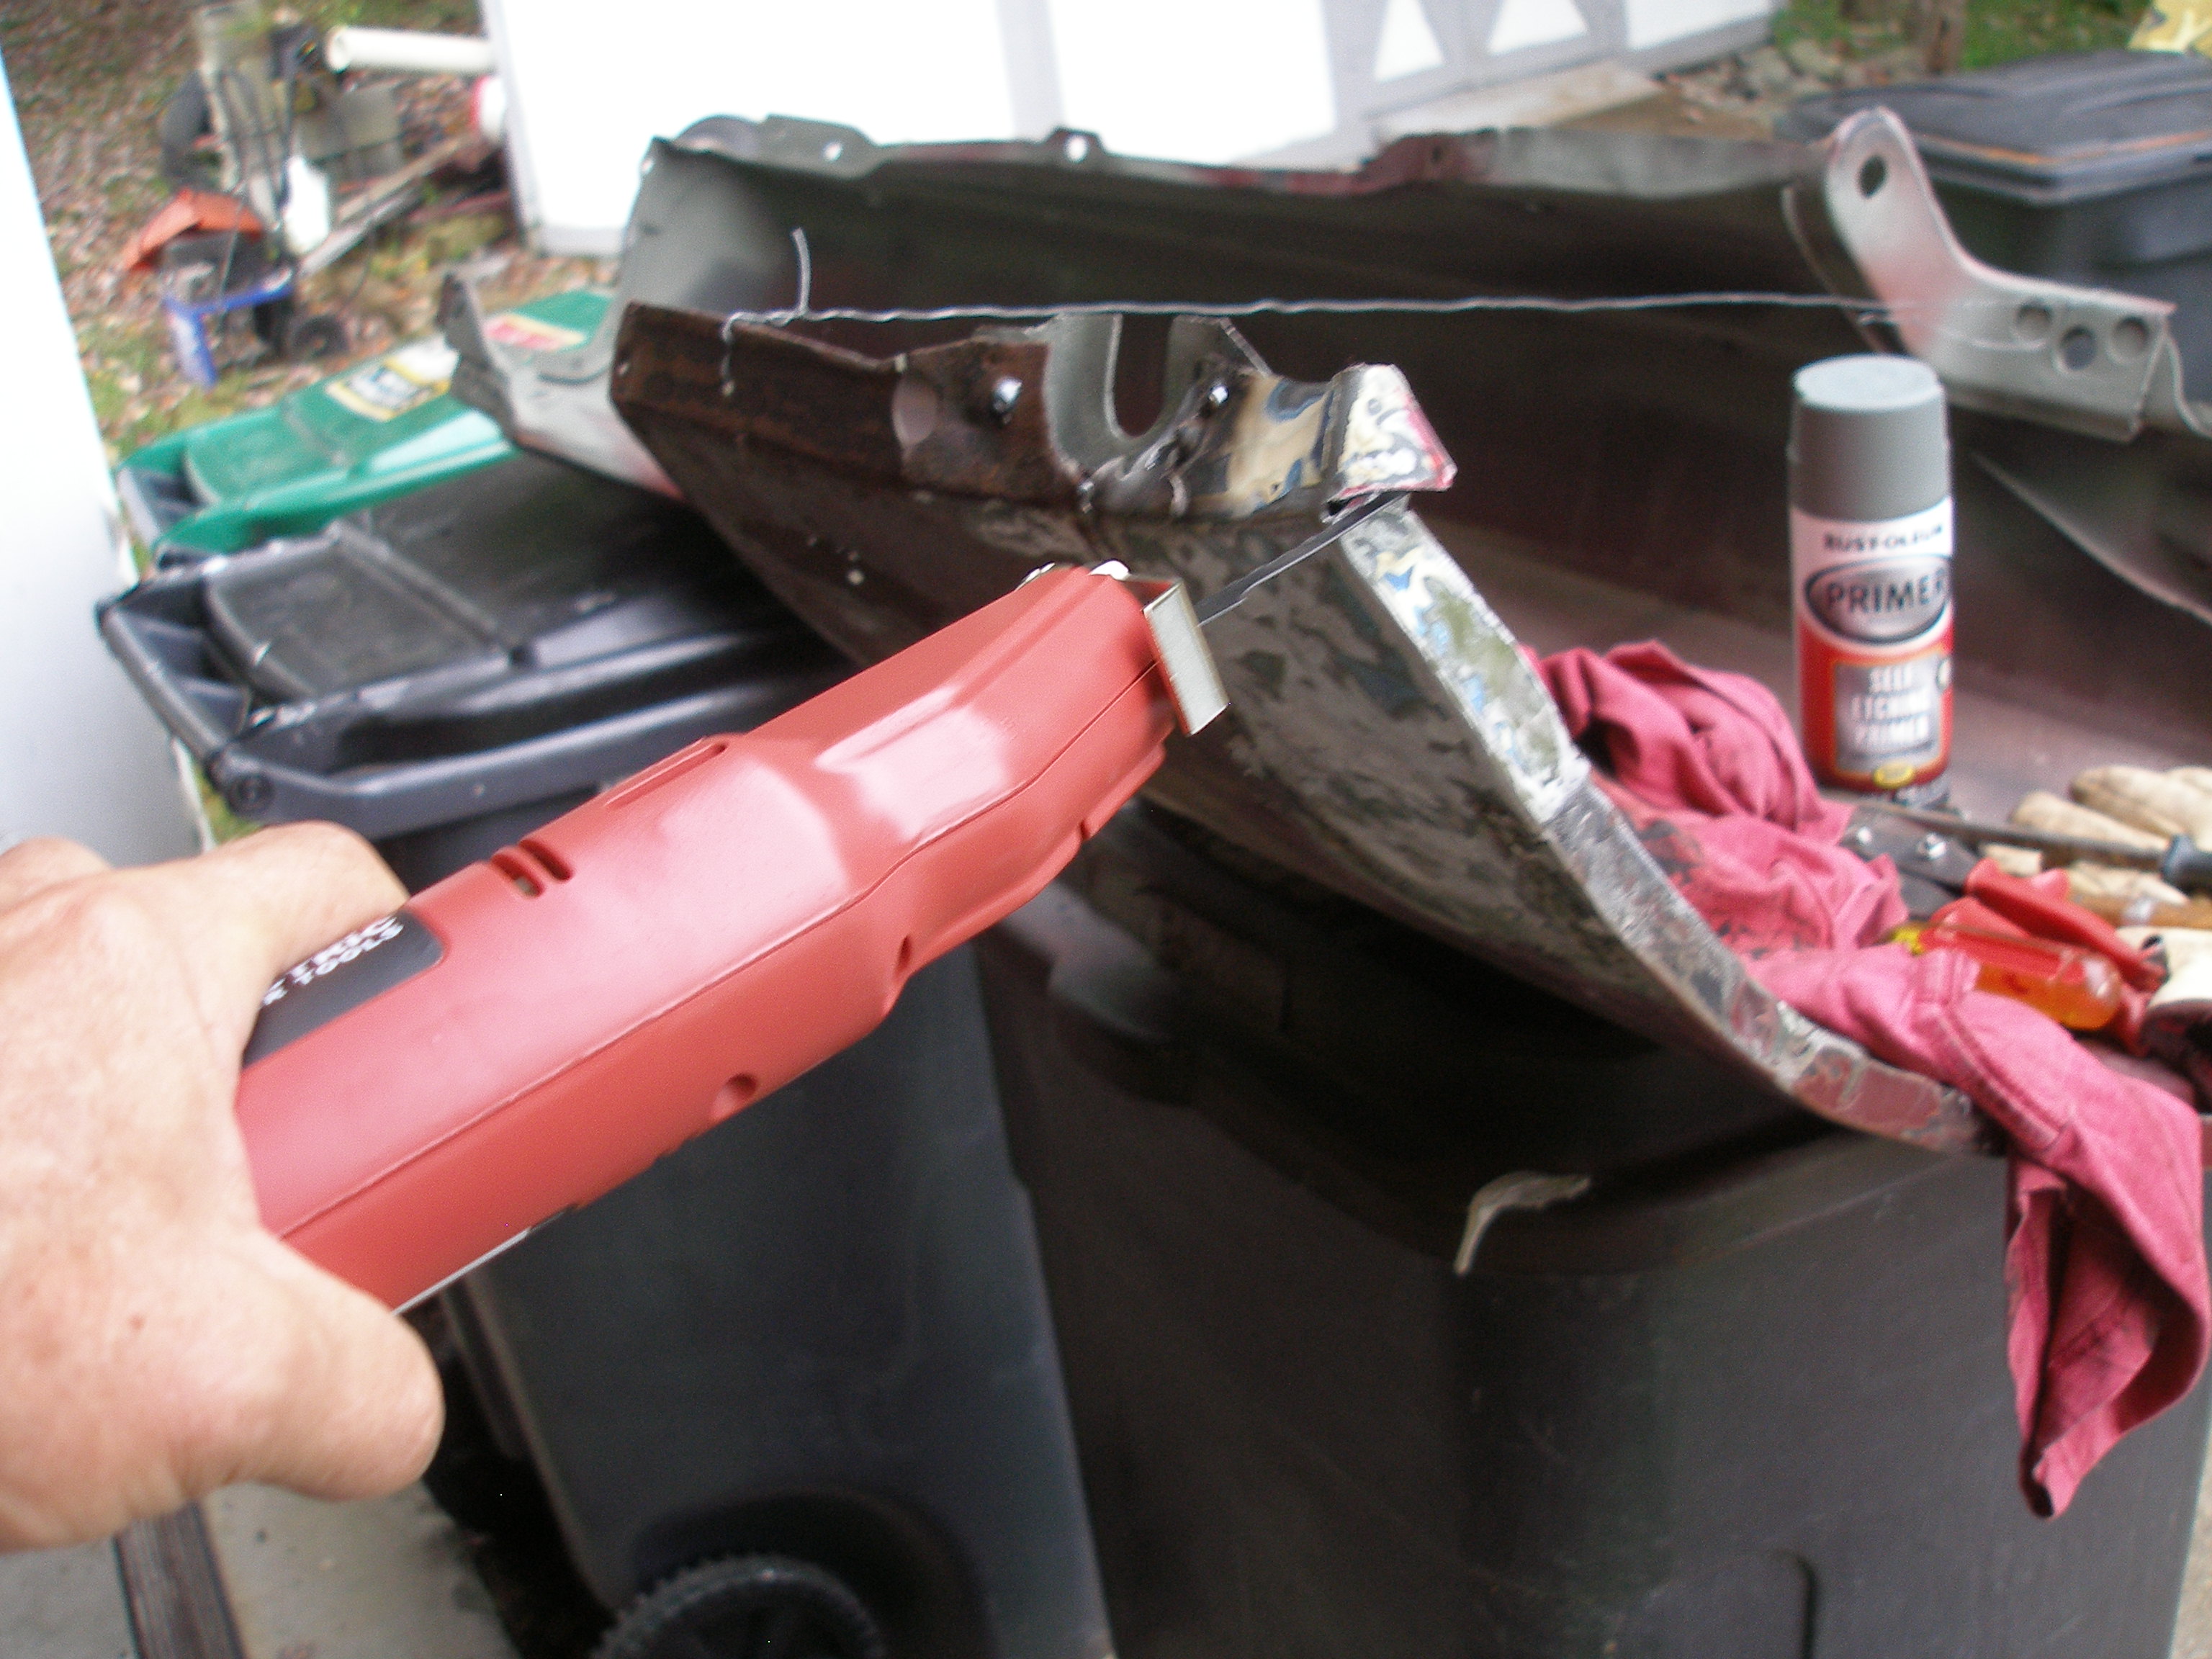
I used a body hammer to fold the corner over then I marked it from the back of the piece then marked the front. I had to cut a piece off of the piece I made using a electric body saw from Harbor Freight company. Then I cut the top piece with a good pair of aircraft cutting snips.
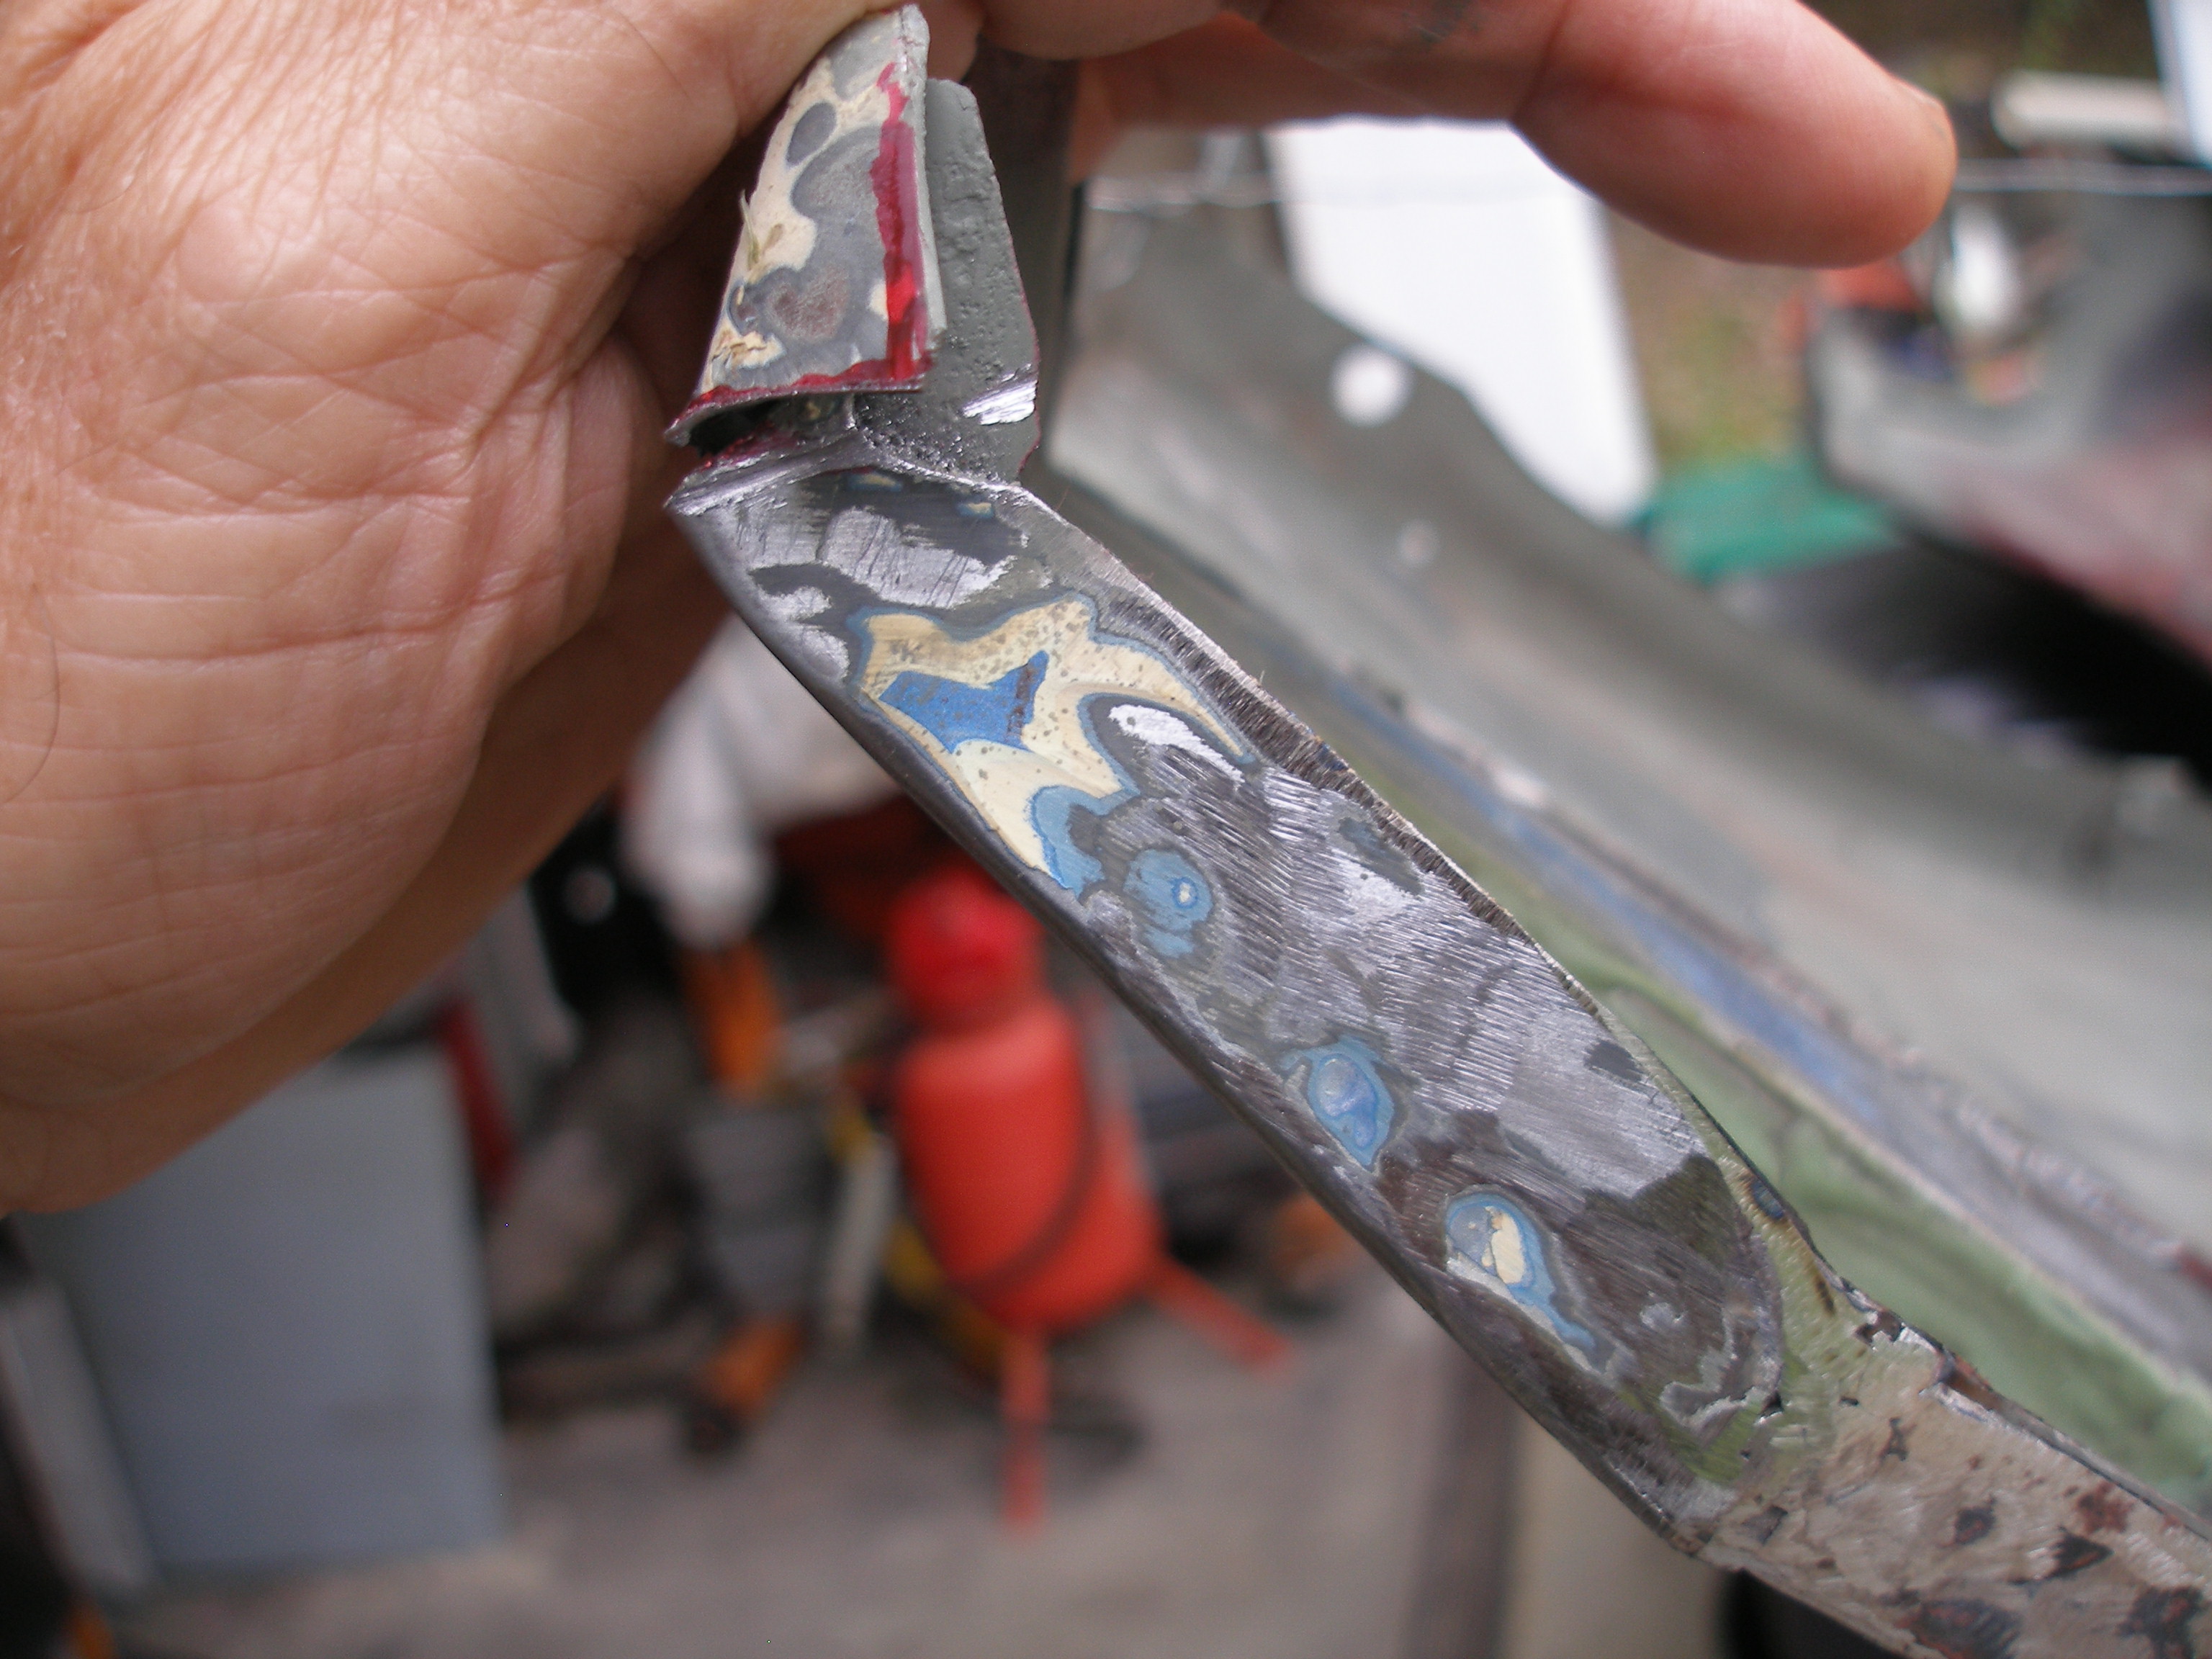
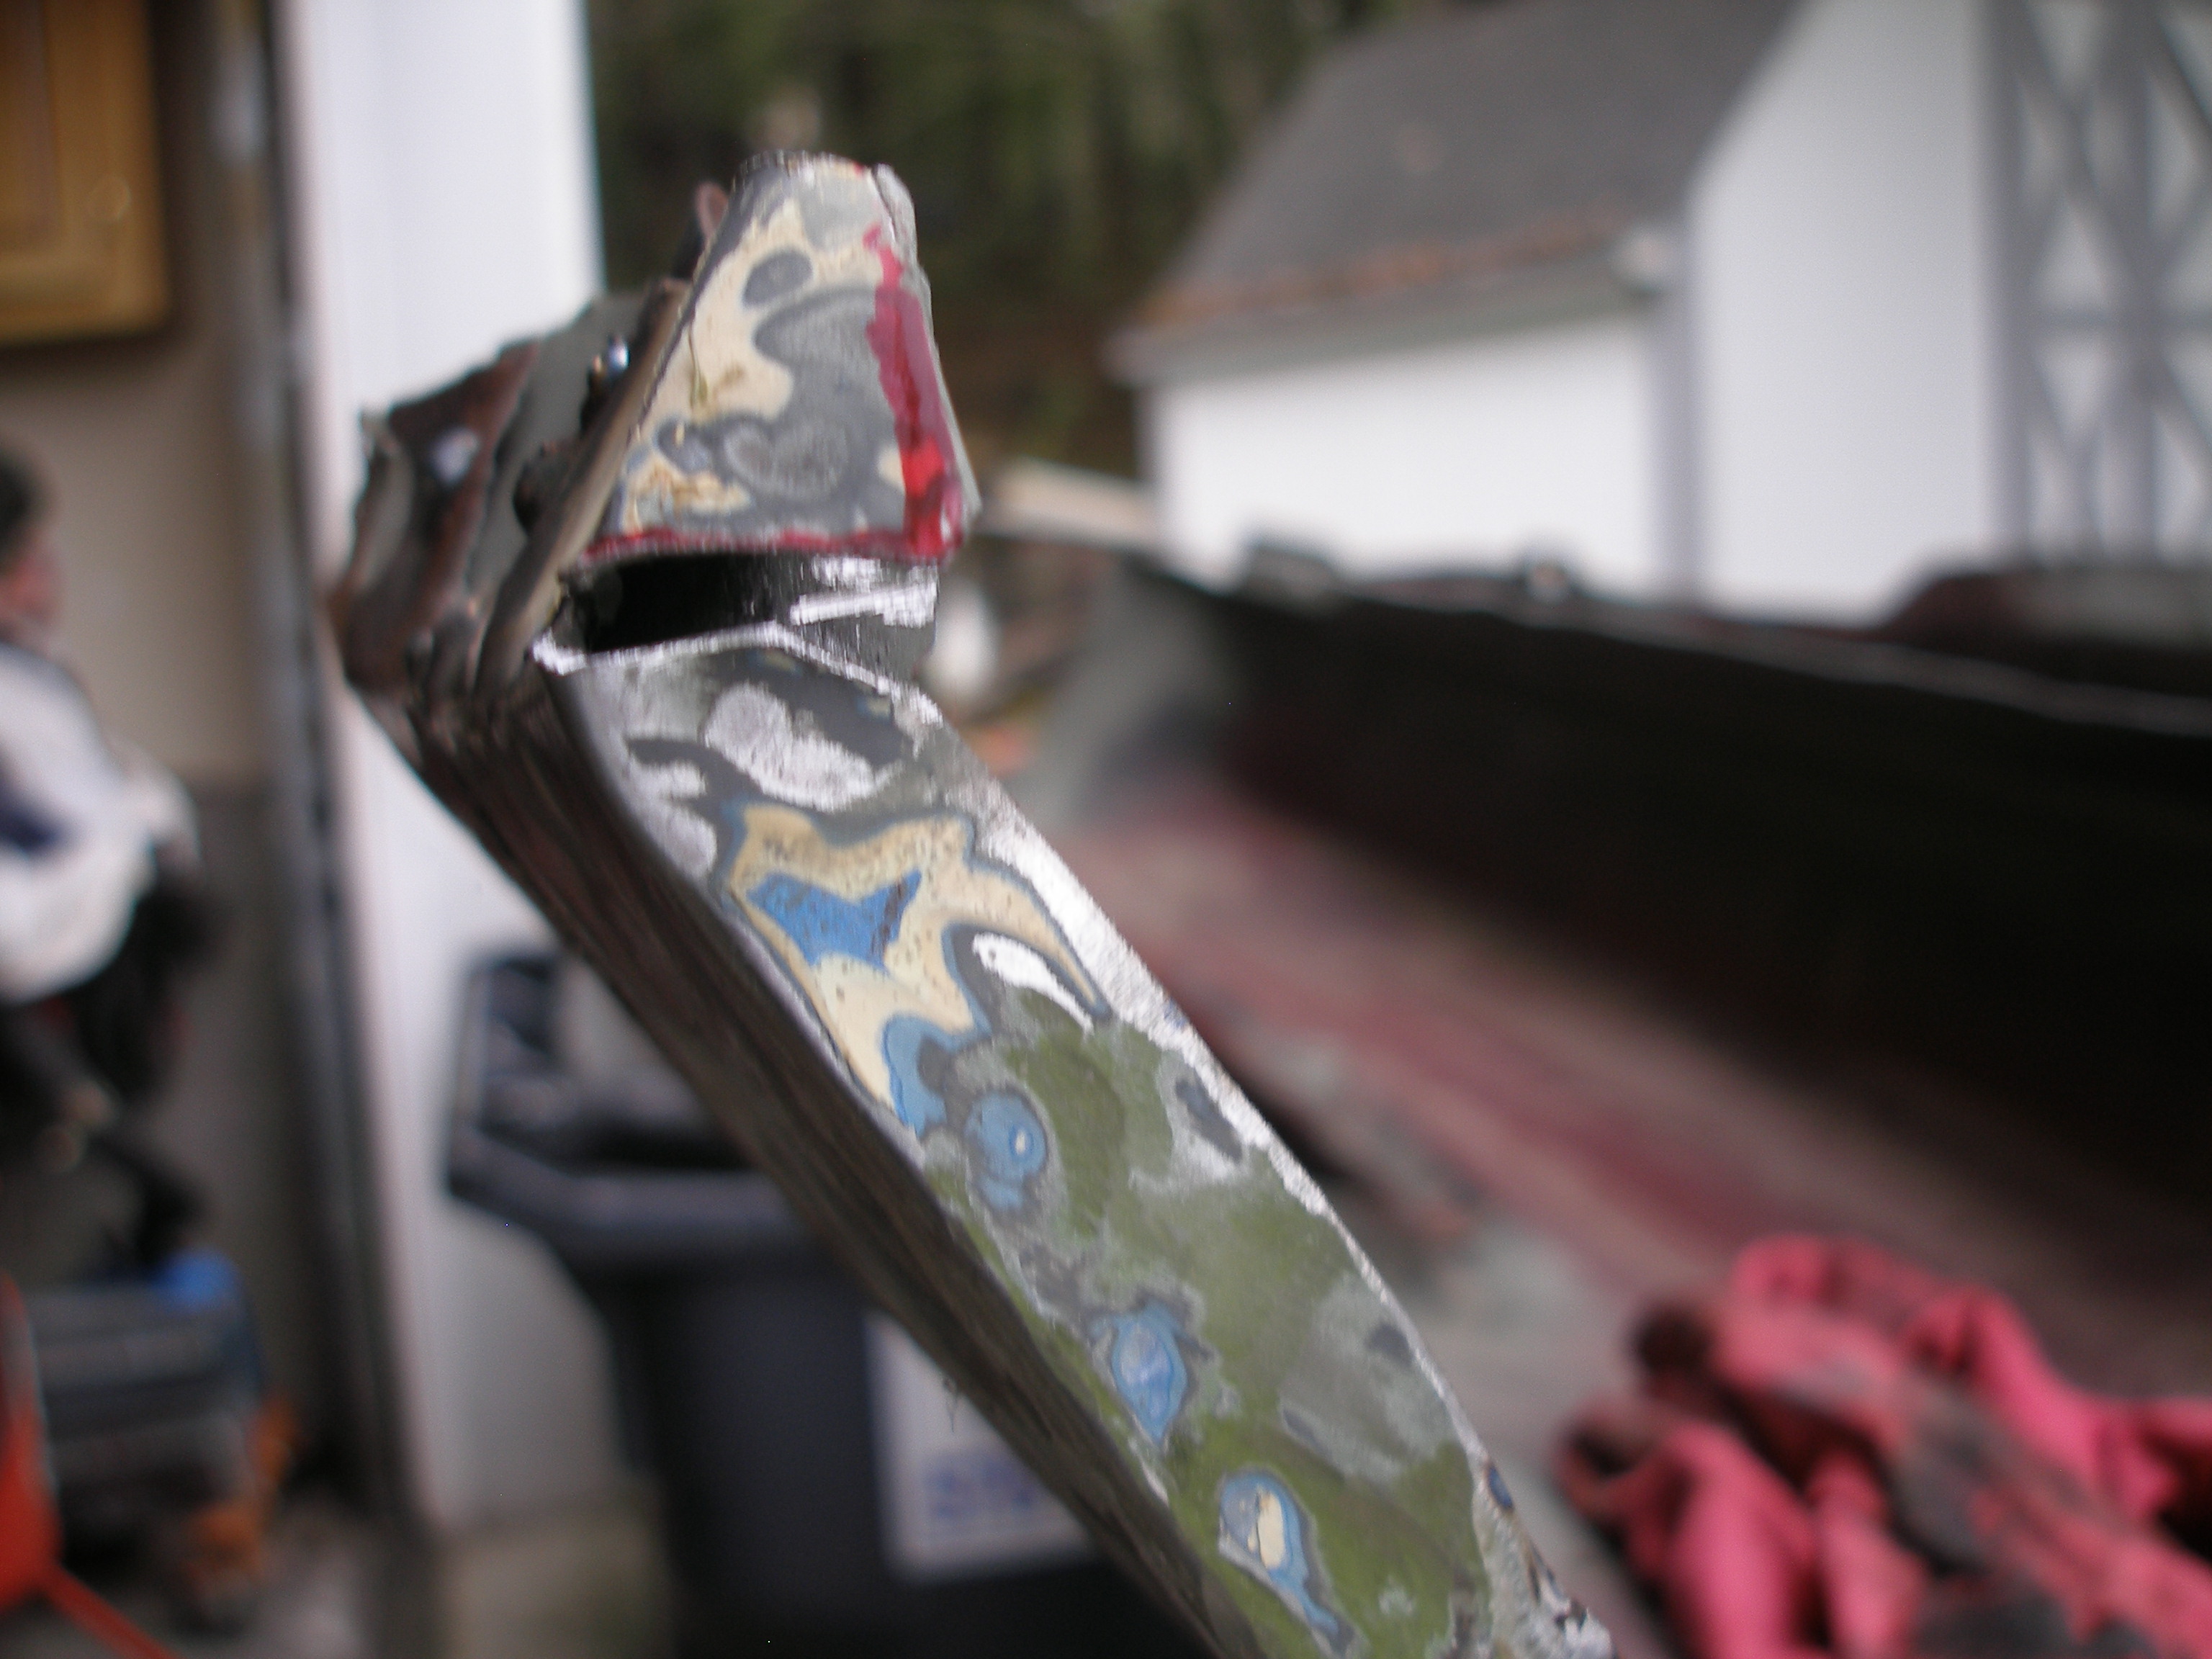
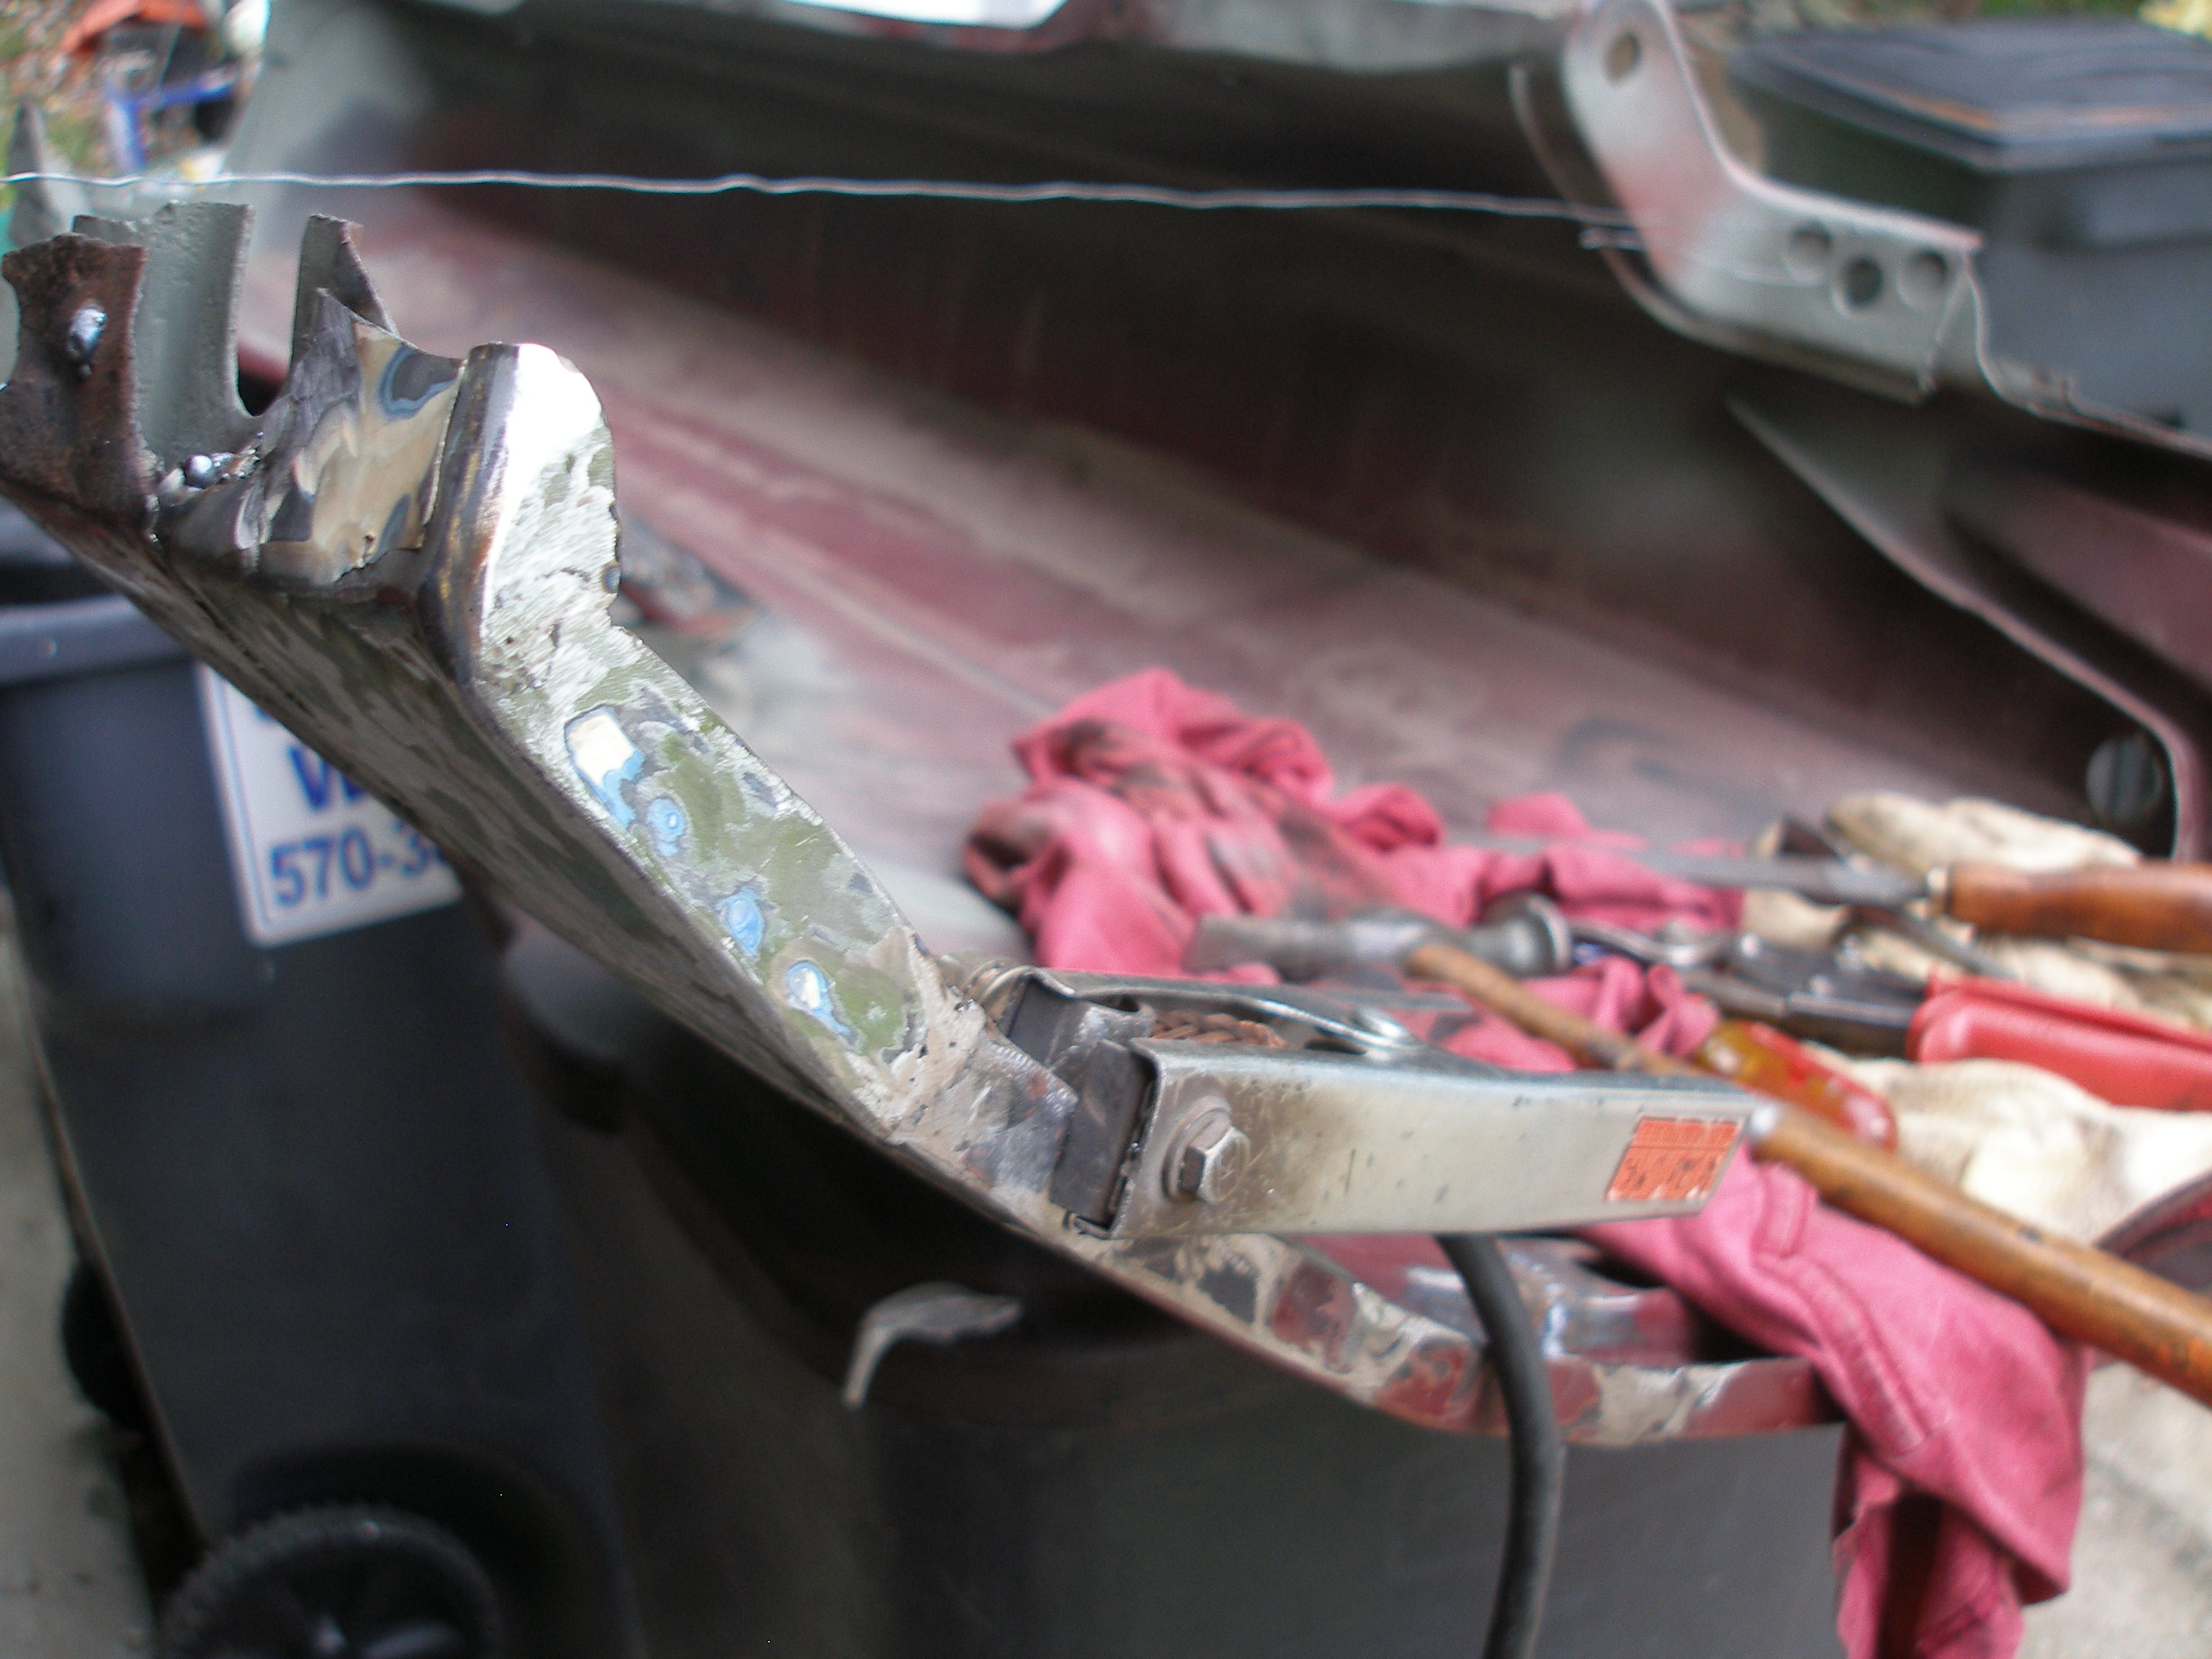
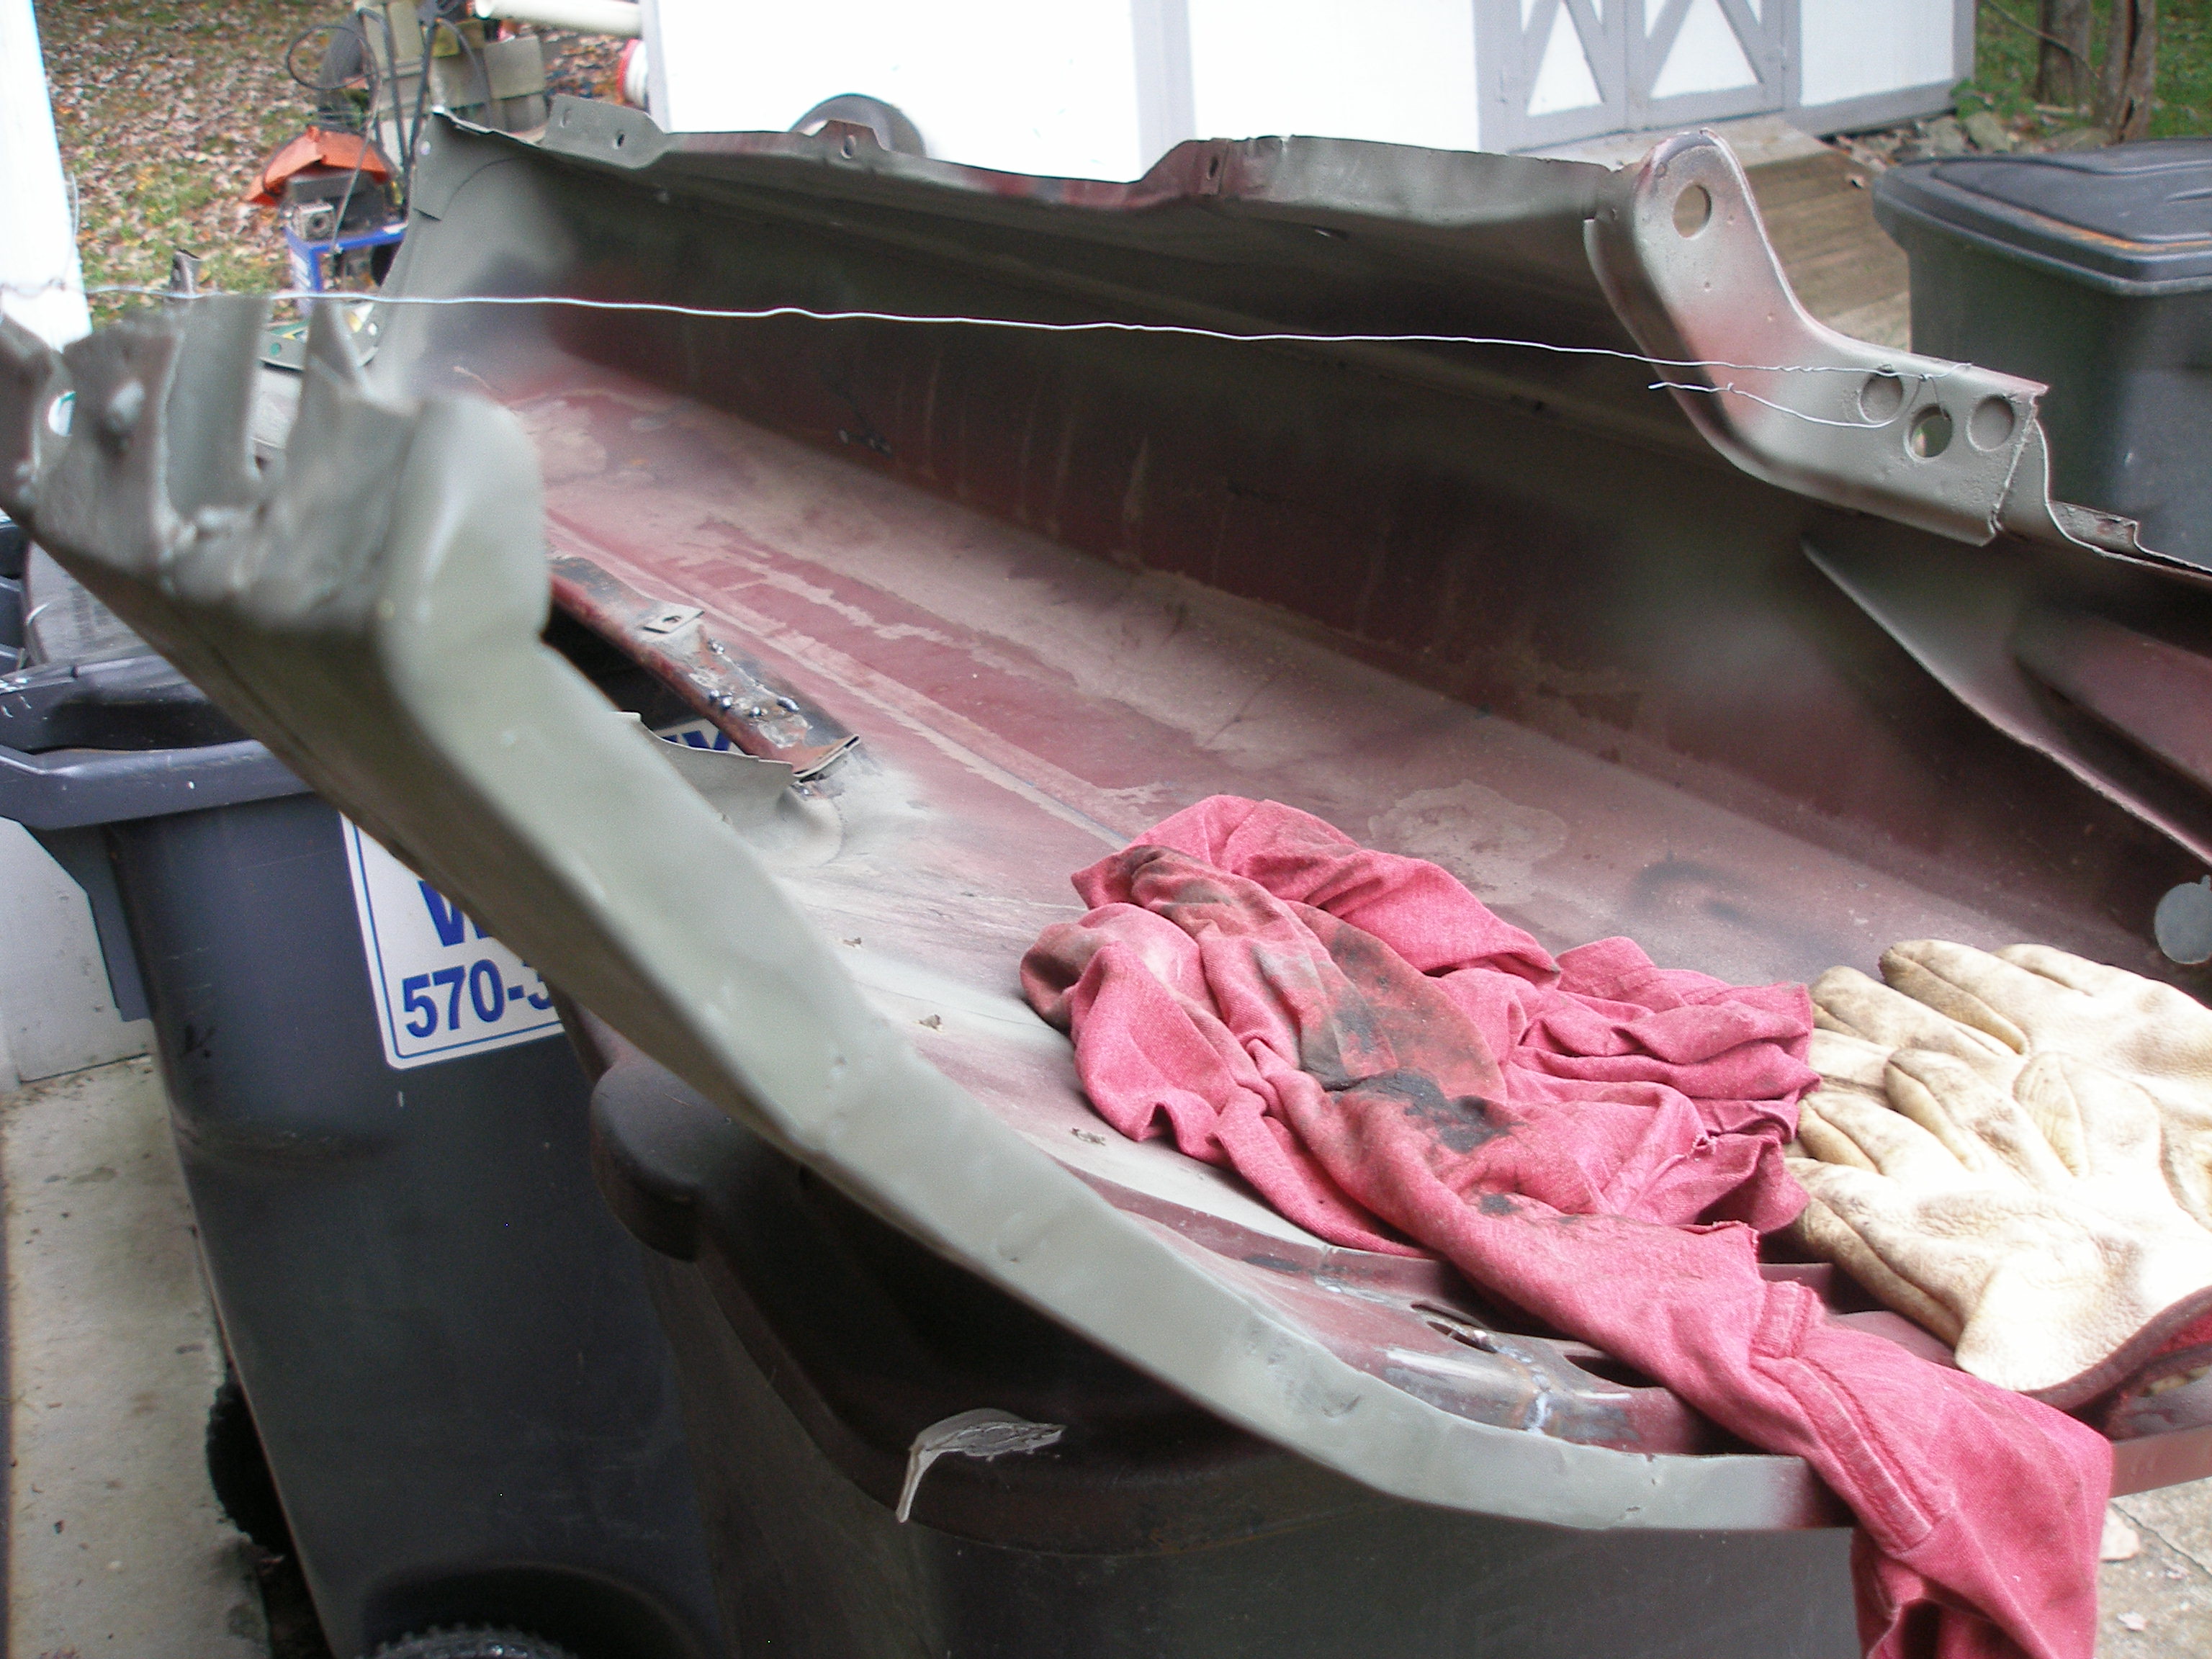
On a regular Mig Welder for sheet metal sometimes you have 4 heat ranges to work with. I have them A-D with D being the highest. You also have speed of the wire too. The hotter you make the MIG…the faster you have to feed the wire. For the lowest bead height you must go with the hottest setting. And kick your wire feed speed. Then you will get a low bead because it will melt right into the metal you are welding …But you will have to have your finger on the trigger for less than a second. This way you can advoid doing a lot of grinding. But here is the catch. You can’t use this temp if you are working on paper thin metal, you will burn a hole right through the metal. You will have no choice to use maybe a setting in the B range so you get some meat on the metal you are working with.. Hope you have that 4 inch grinding wheel around to grind down all those little mountians you will be making. I used self etching primer on it too so as to keep rust from forming..I probably will have to sand some of this off so I can put on a layer of waterproof body putty on the edge to kind of smooth it out before painting so it looks just like new. You can also some Epoxy primer…


 Email us
 Call us
 Facebook